Manage calendars
Apromore allows us to create and apply a calendar to a log. All the cost computations and execution times related to the selected log are calculated according to the calendar.
Creating a calendar includes selecting the working time range and adding any public and custom holidays.
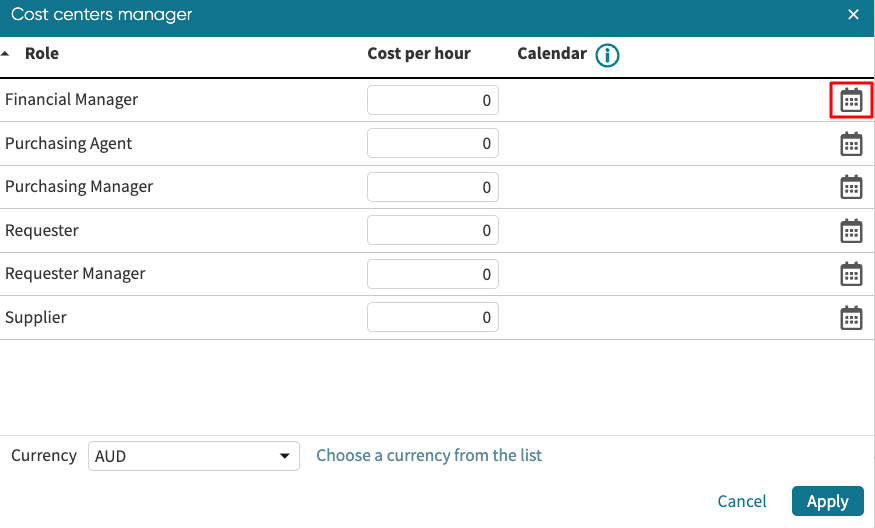
To create a calendar, right-click the log in Portal and select Calendar.
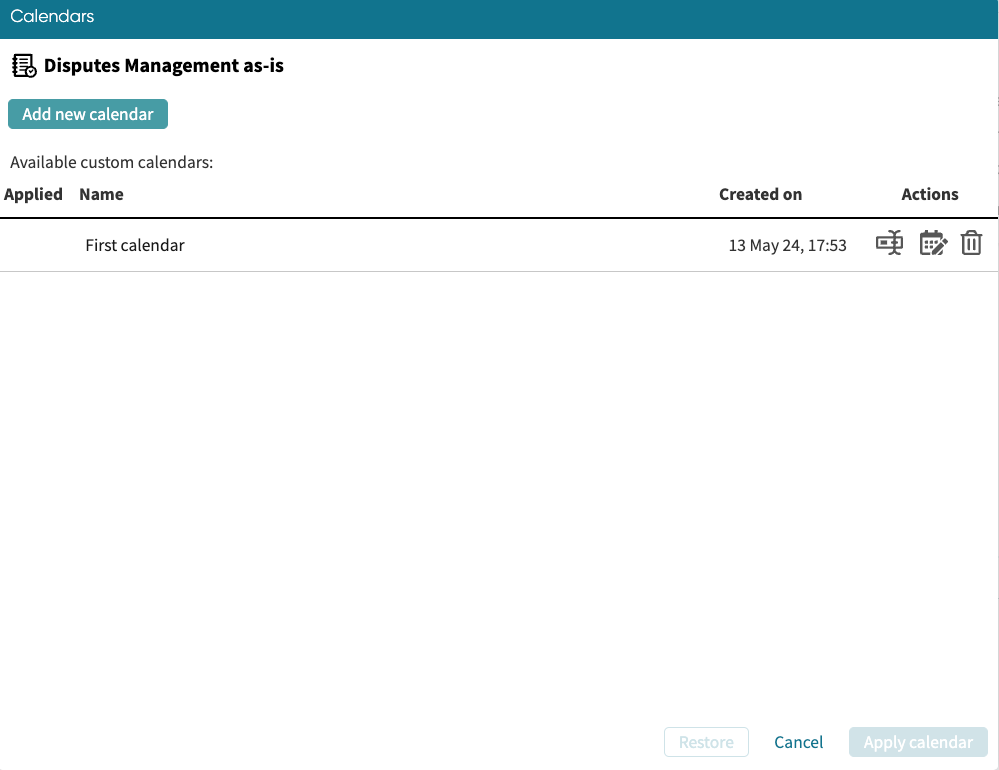
This opens the Calendars window.
Note
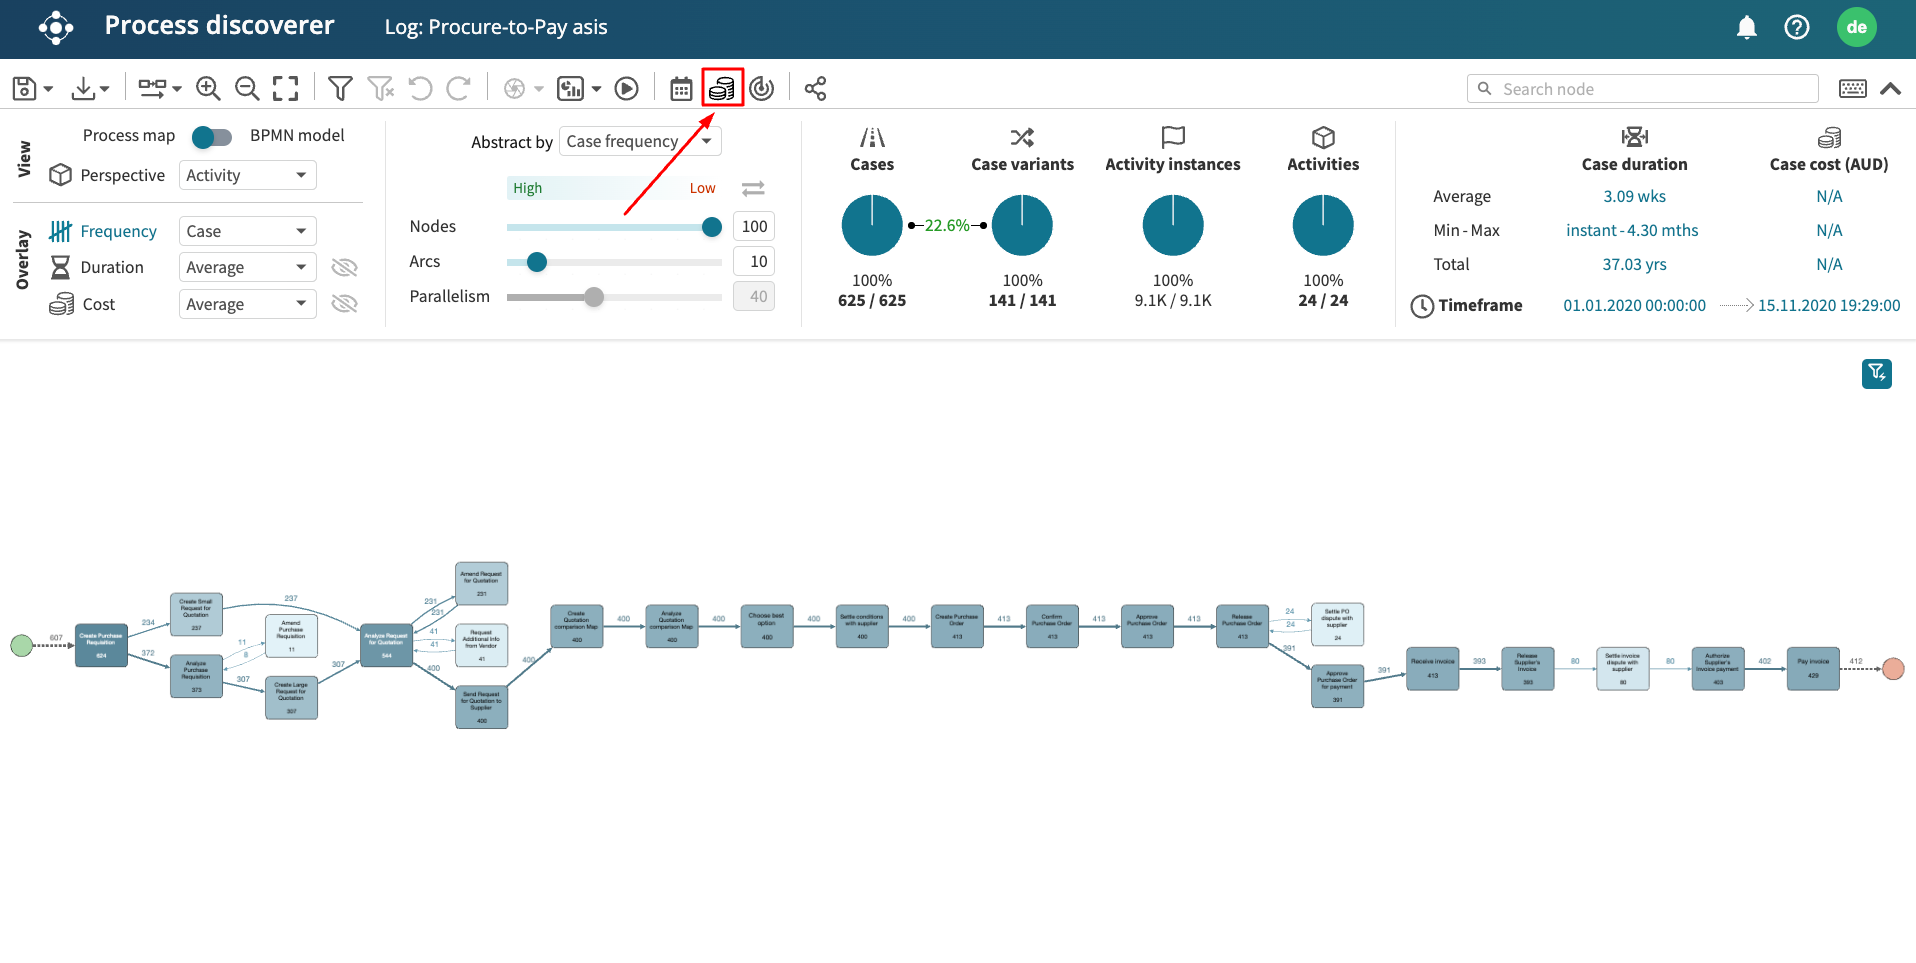
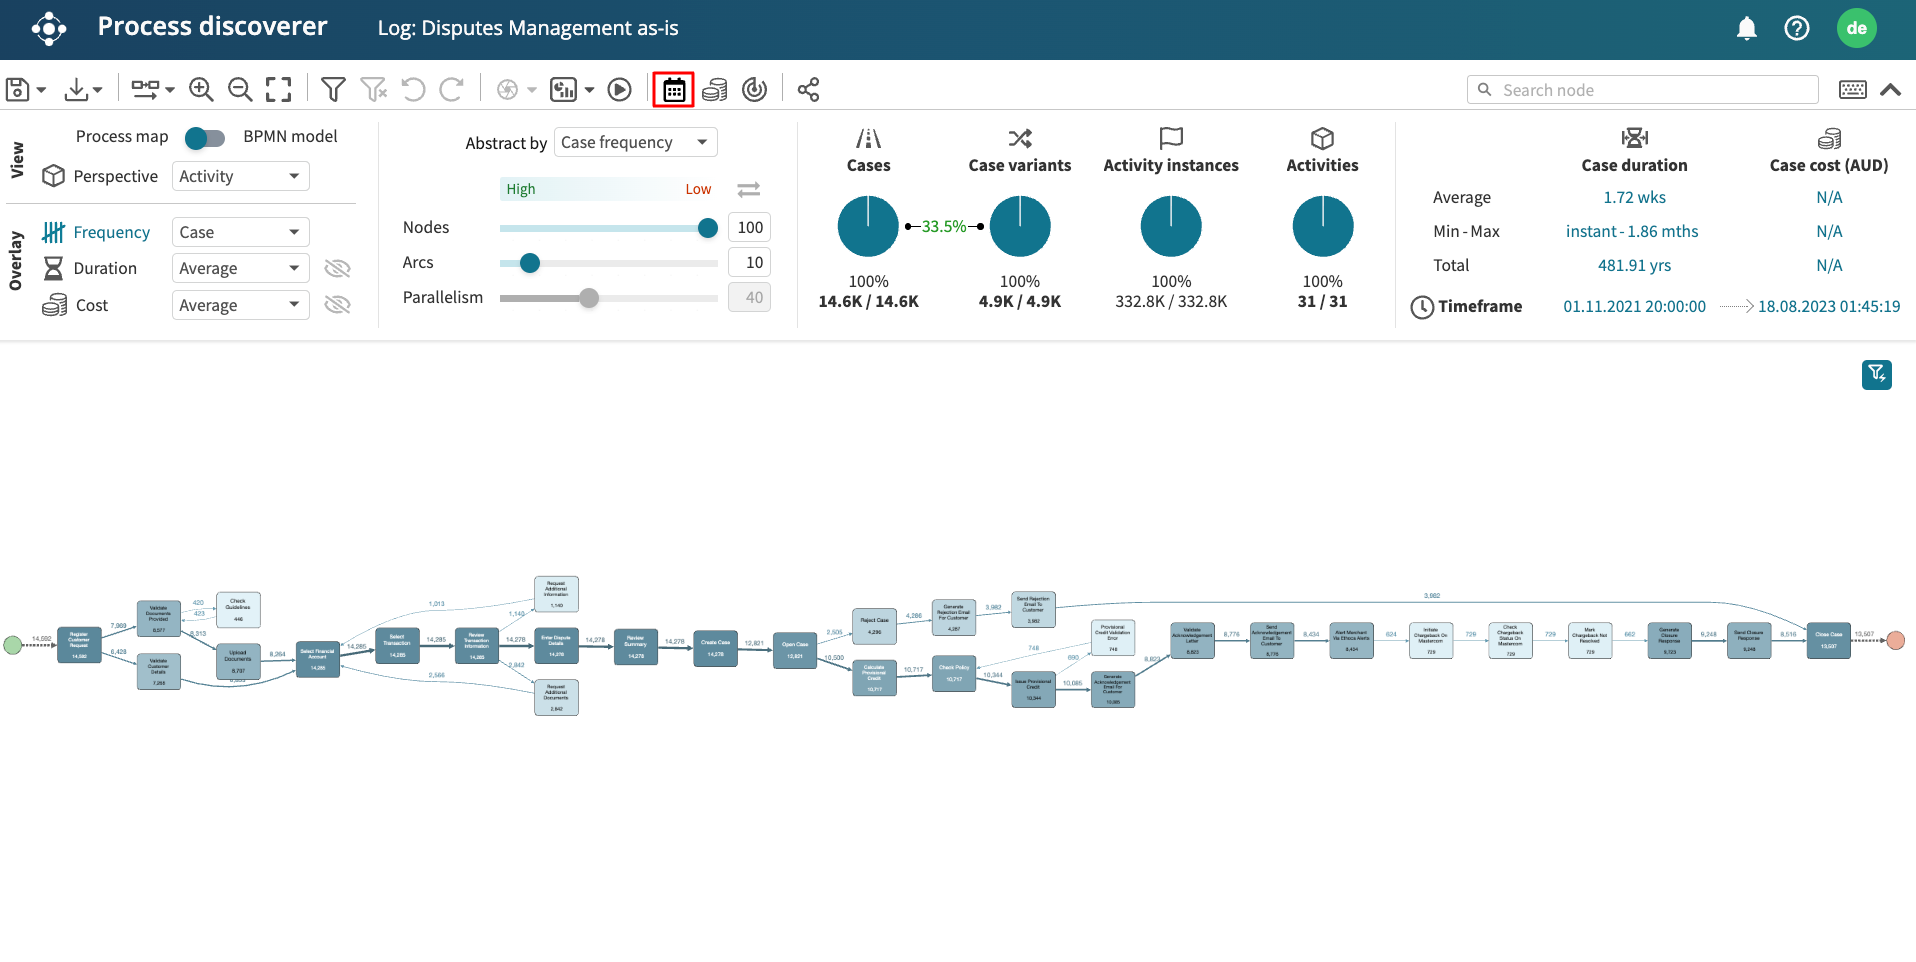
We can also open the Calendars window from Process discoverer. Double-click the log to open it in Process discoverer. Click the calendar icon from the menu bar.
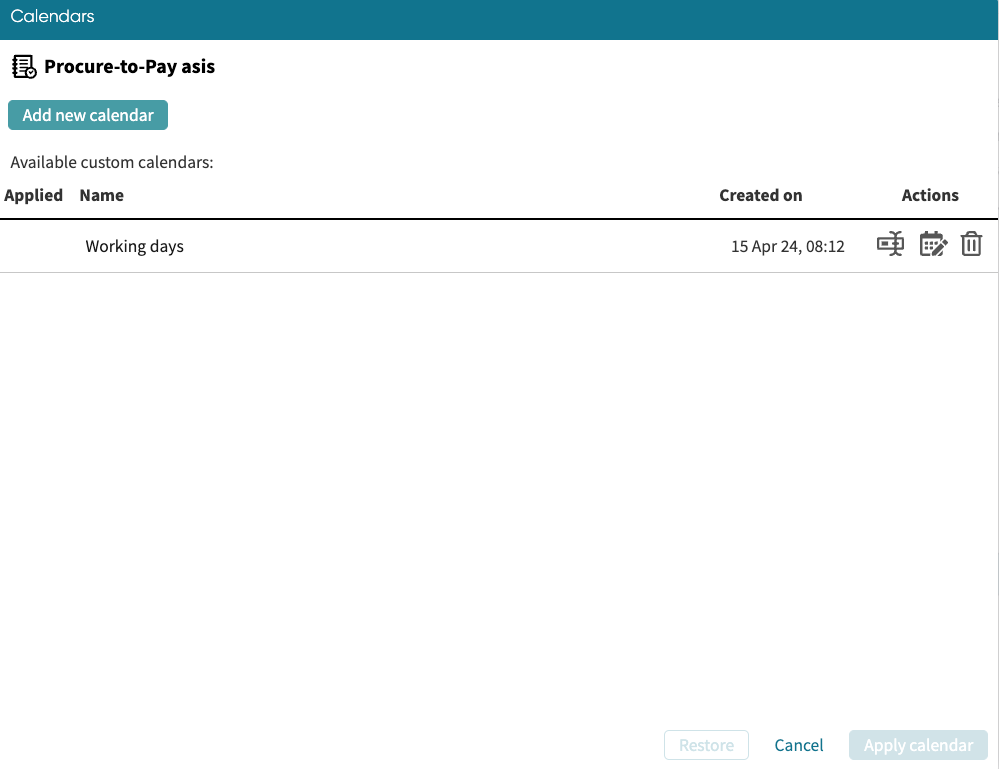
If there are calendars applied to the log, these logs will be displayed here.
To create a new calendar, click Add new calendar.

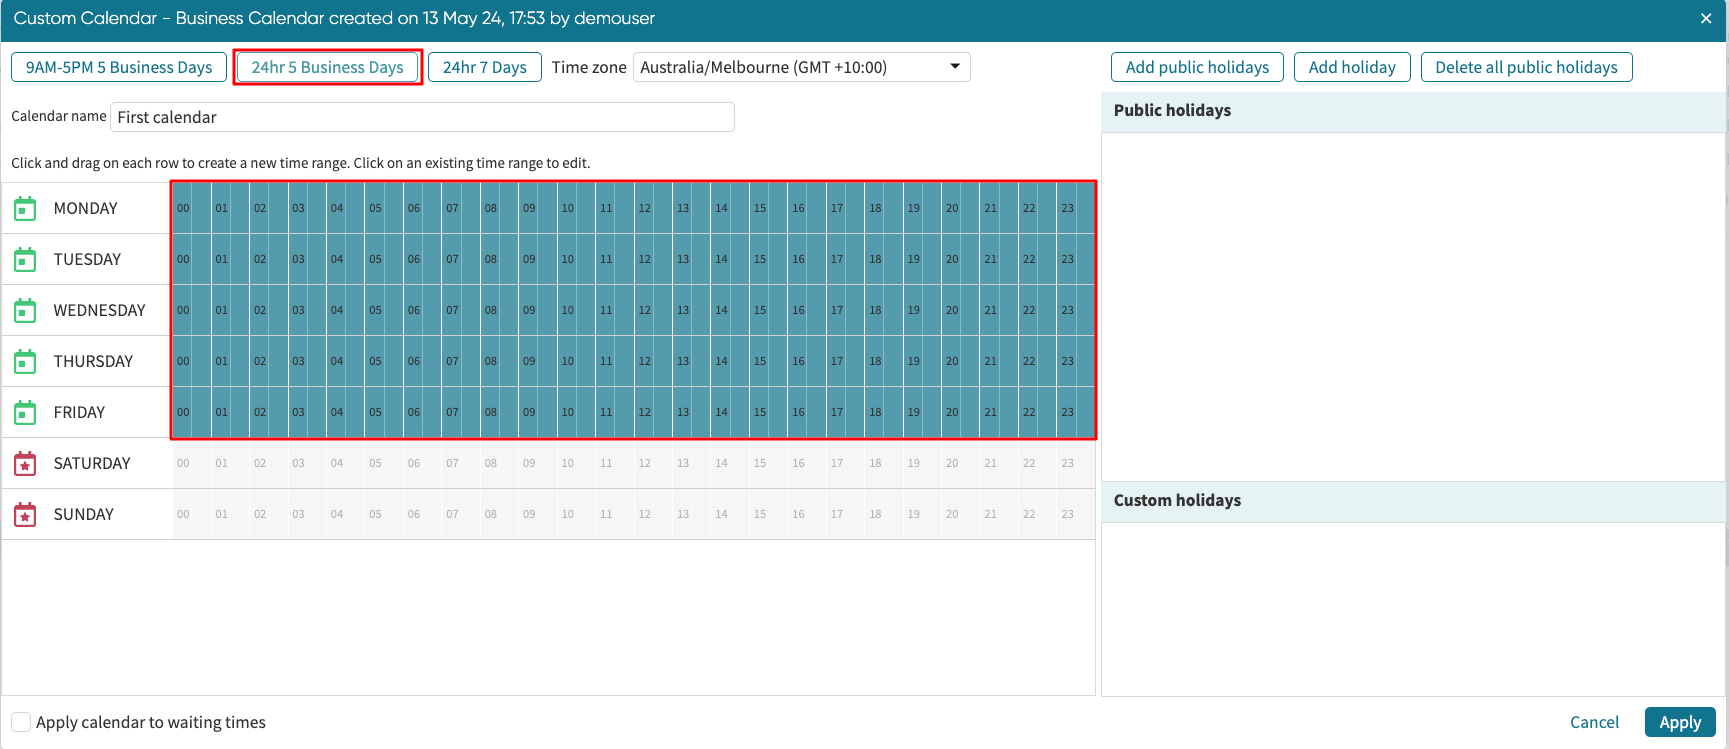
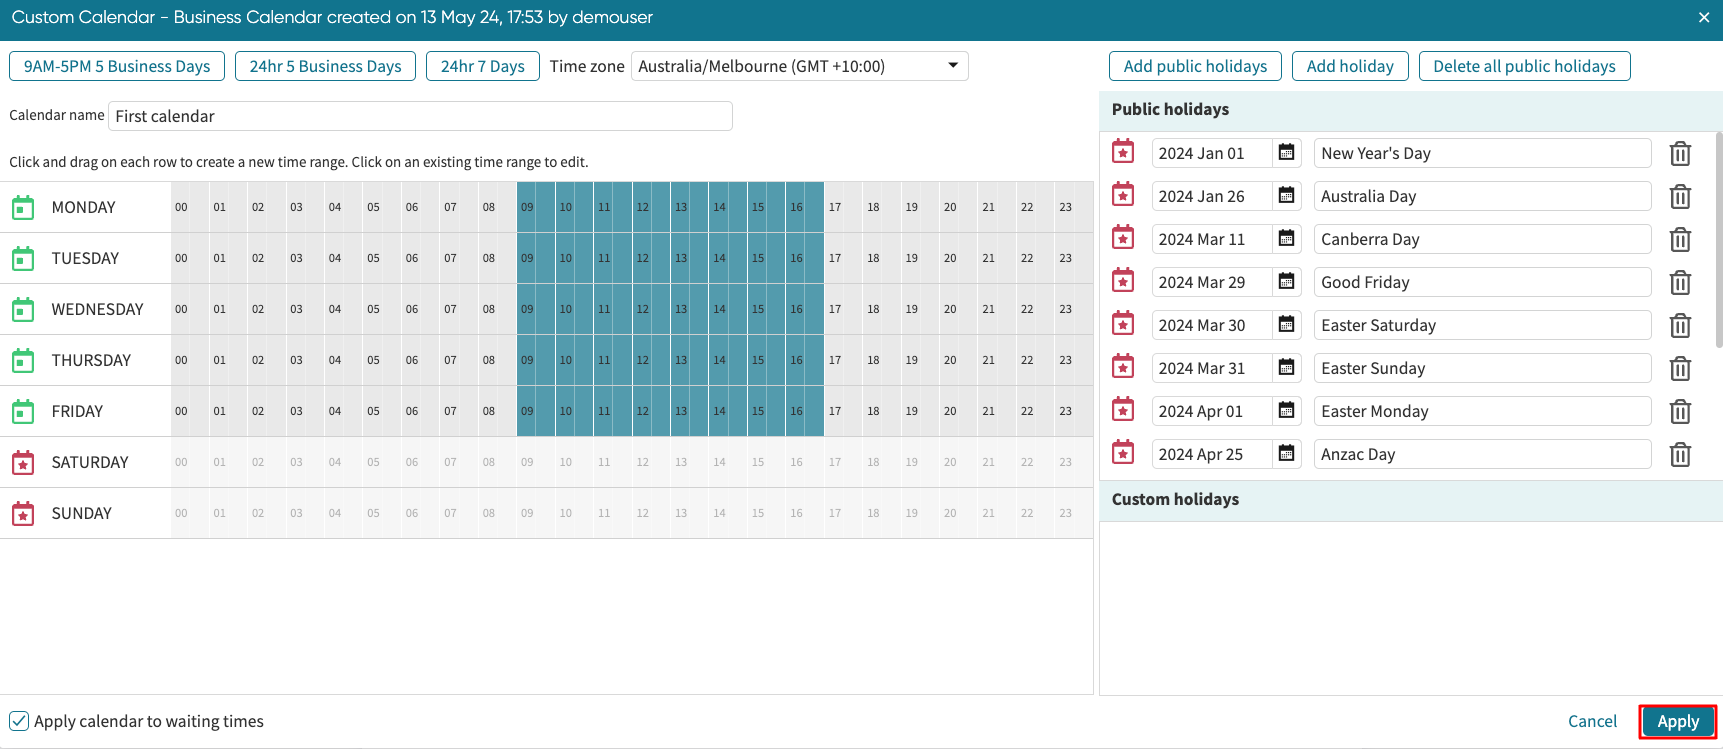
We can choose any of Apromore’s preset calendars or create a custom calendar. The preset calendars are:
9 AM-5 PM 5 Business Days
24hr 5 Business Days
24hr 7 Days
We can also select the time zone.
Before applying the calendar, we must specify a calendar name.

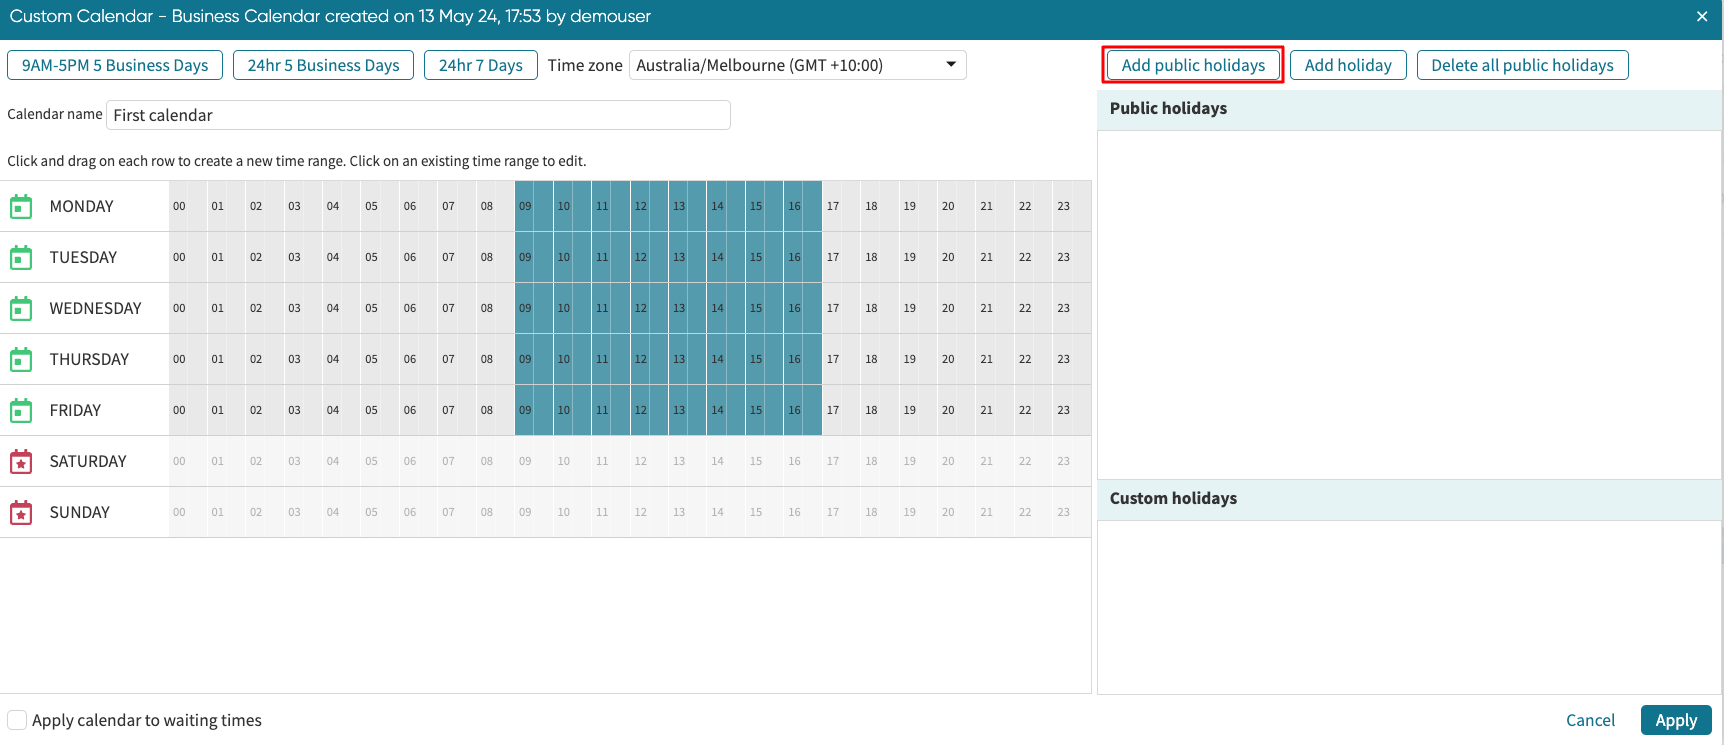
When we click any of the preset calendars, the time range change is reflected on the calendar below.
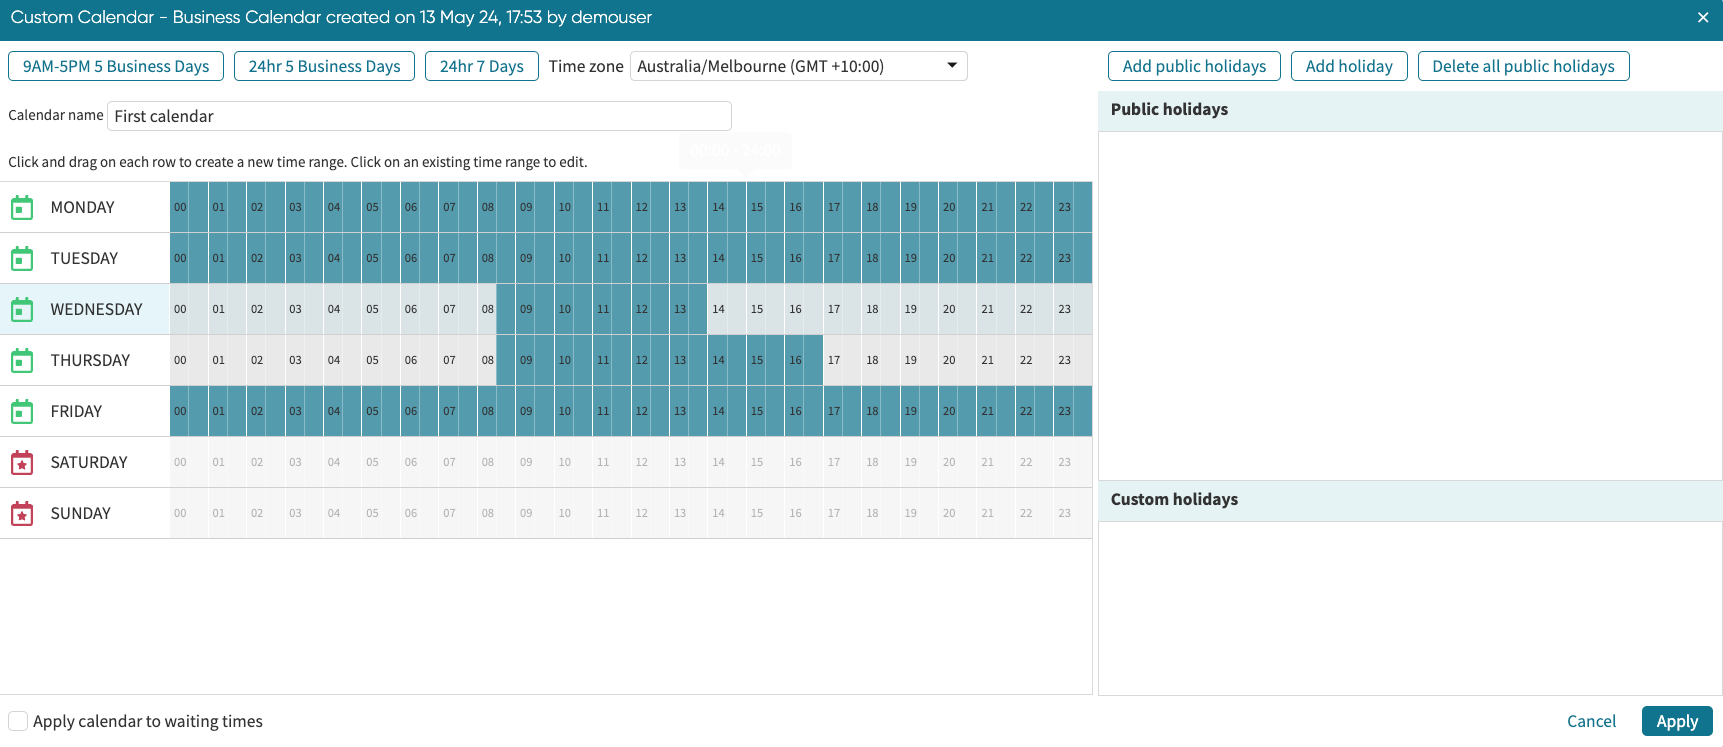
If we want to create a calendar that is different from the preset ones, we can create a custom calendar. Click on the calendar and drag on each row till the time range reflects our calendar preferences.
Note
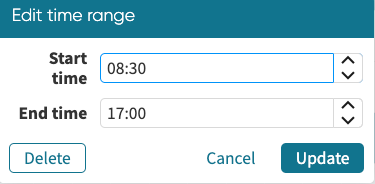
To edit the time range for a given day, click the time from the calendar. The Edit time range window appears. Specify the time range we want for the day.
To make the calendar precise, we can add holidays. On the right, we can add public holidays for a given location.
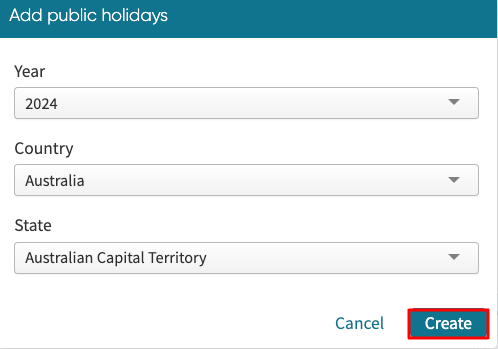
To reflect public holidays on the calendar, click Add public holidays.
Select the Year, Country, and State from the corresponding dropdowns. Click Create.
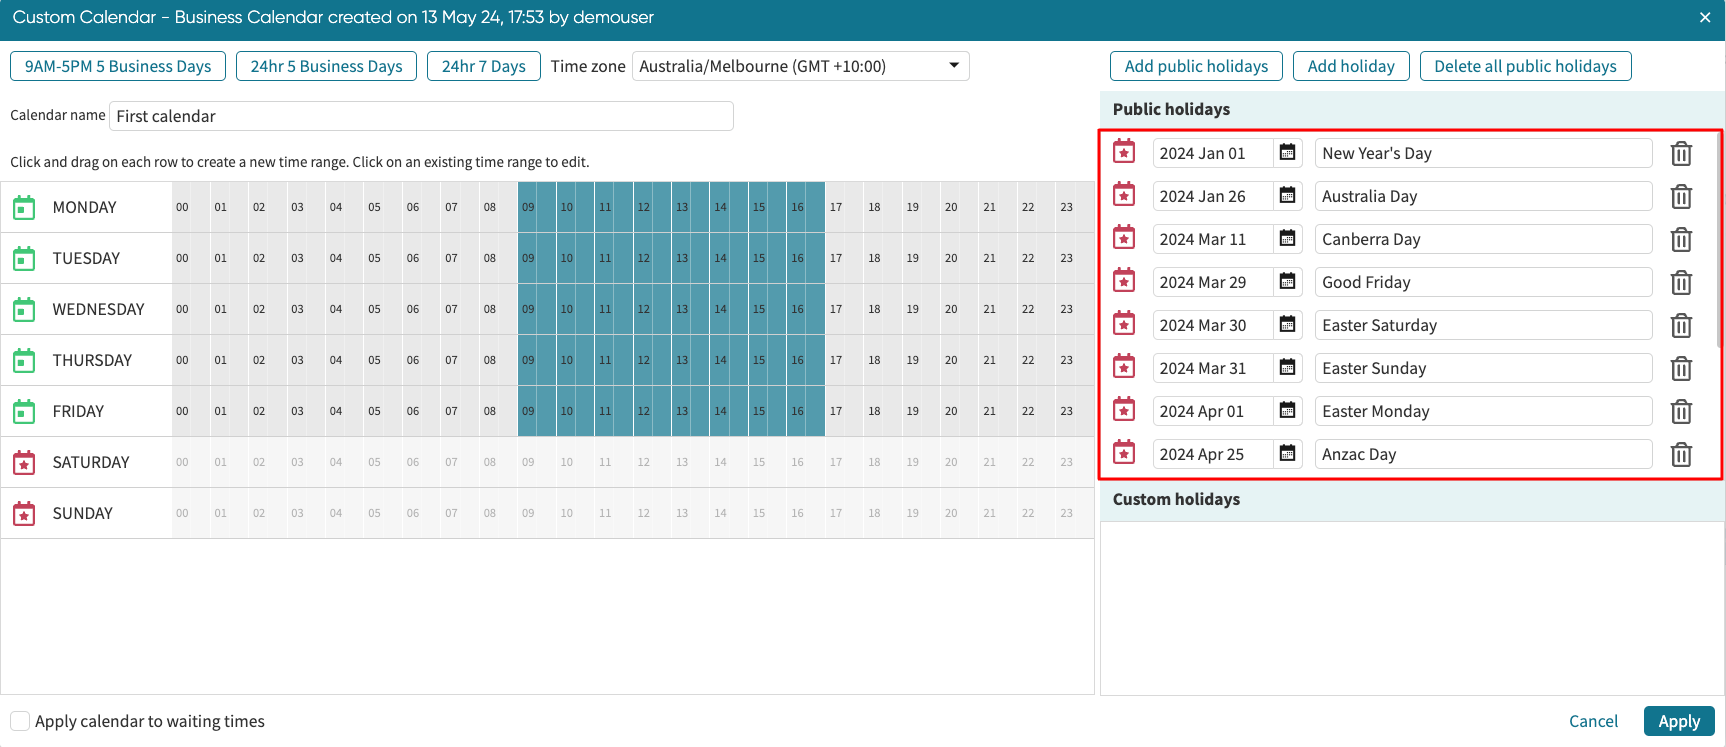
The list of public holidays relevant to the chosen location and timeframe appears.
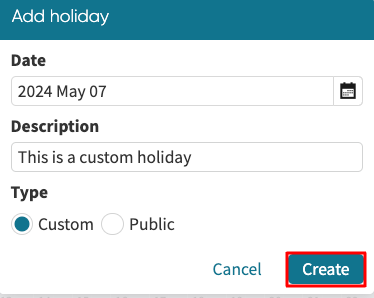
We can also add customer holidays to the calendar. To reflect custom holidays, click Add holiday.

Add holiday window appears. Choose a Date, specify a Description and type. There are two types of holidays. Choose Public for the public holidays that were missed in the public holiday list. Choose Custom for personal events like conferences, hackathons, etc.
Click Create.
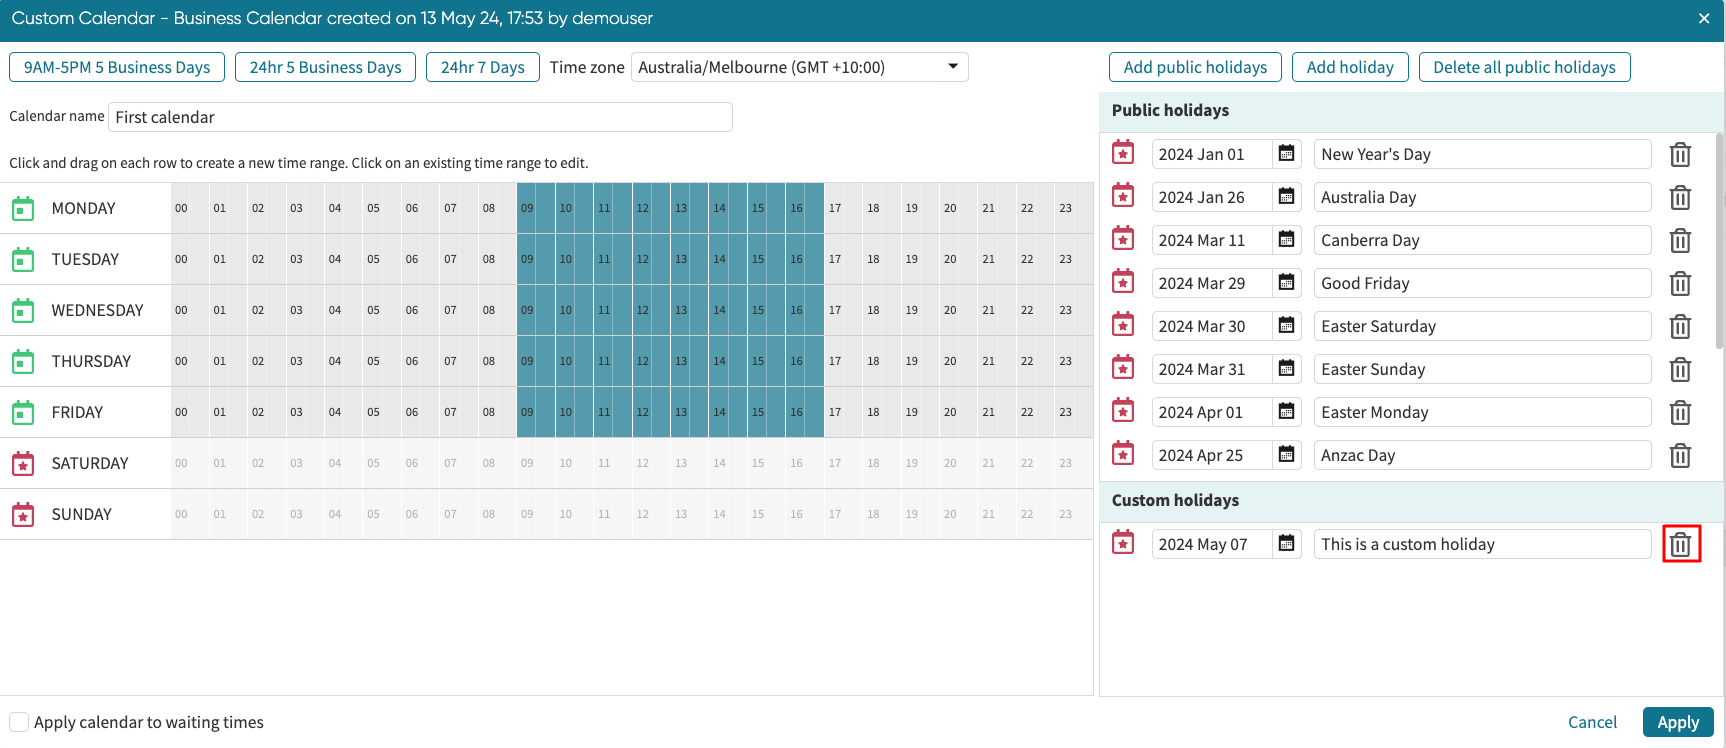
To delete a holiday (public or custom), click on the delete icon next to it.
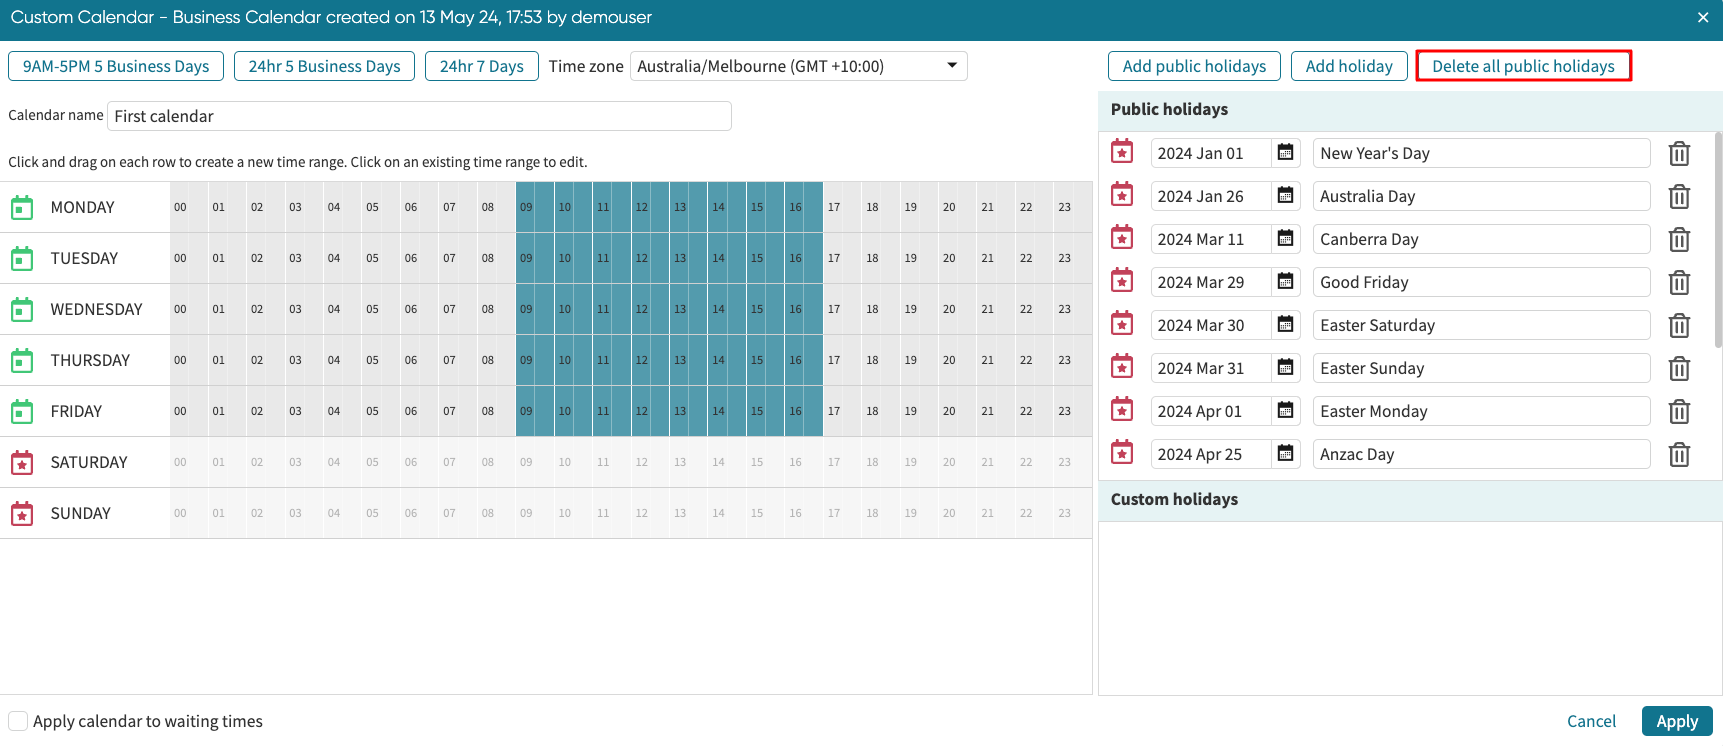
To delete all the public holidays at once, click Delete all public holidays.
Note
Before applying the calendar, we can check “Apply calendar to waiting times.”
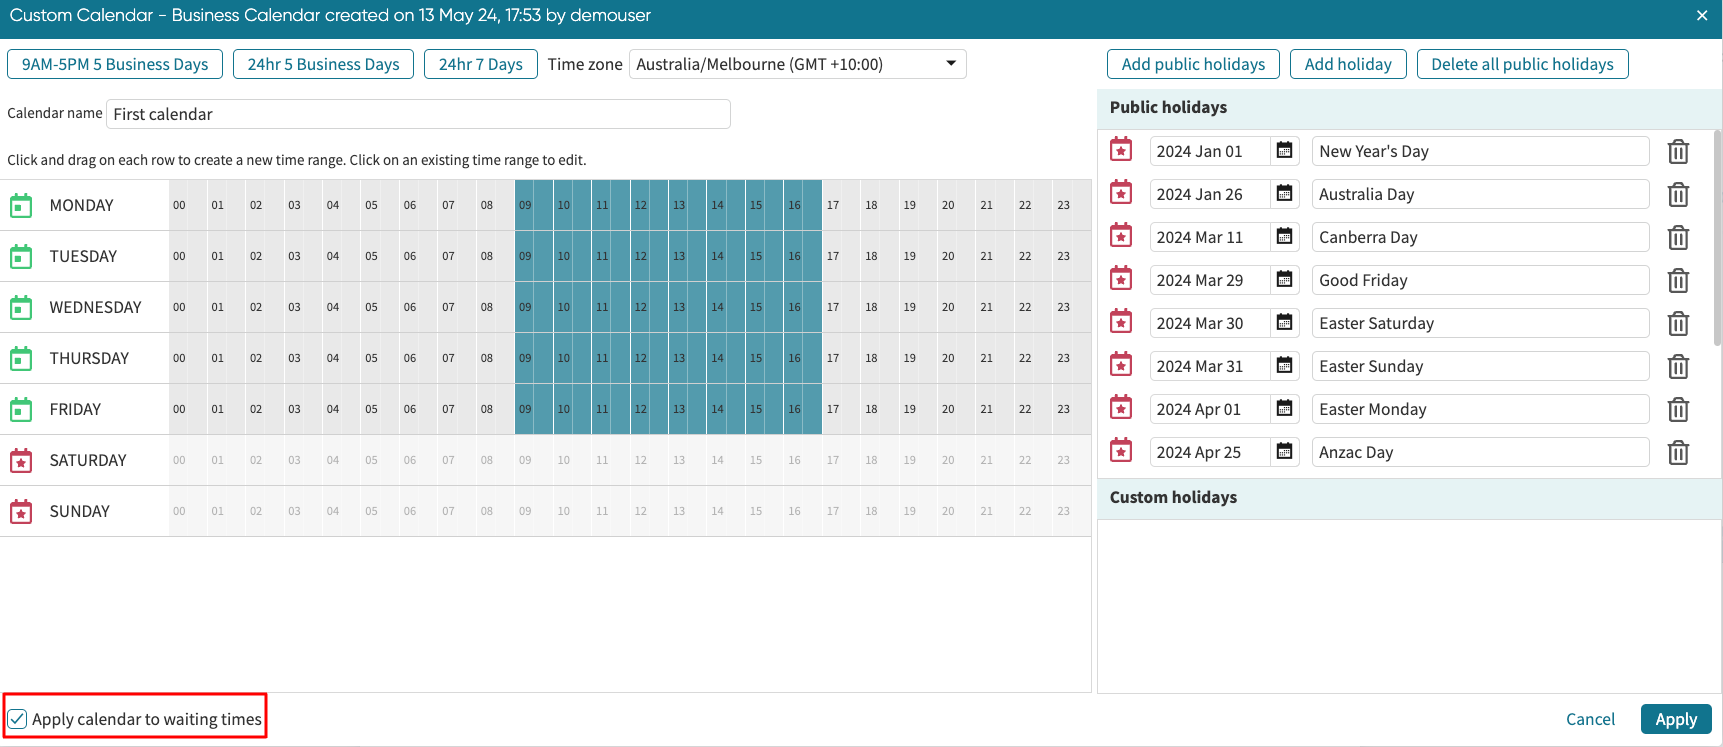
Apromore will use the defined business hours/calendar to calculate the waiting times. This means that when calculating waiting times, the time outside of the specified business hours will be excluded. For example, if the business hours are 9 AM to 5 PM. An activity in the process ends at 4:55 PM, and the directly-follows activity starts at 9:05 AM the next business day; the waiting time would be 10 minutes.
Conversely, if we do not check “Apply calendar to waiting times,” the waiting time will include non-business hours. In our example, it would be overnight plus 10 minutes.
When all the holidays are added, click Apply.
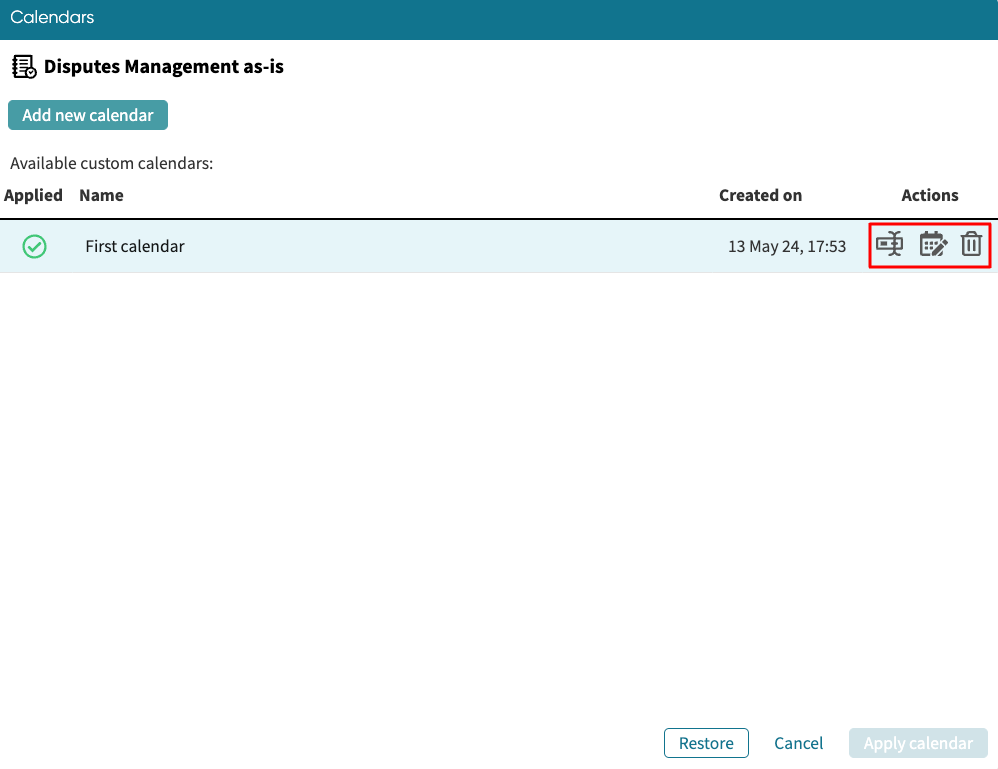
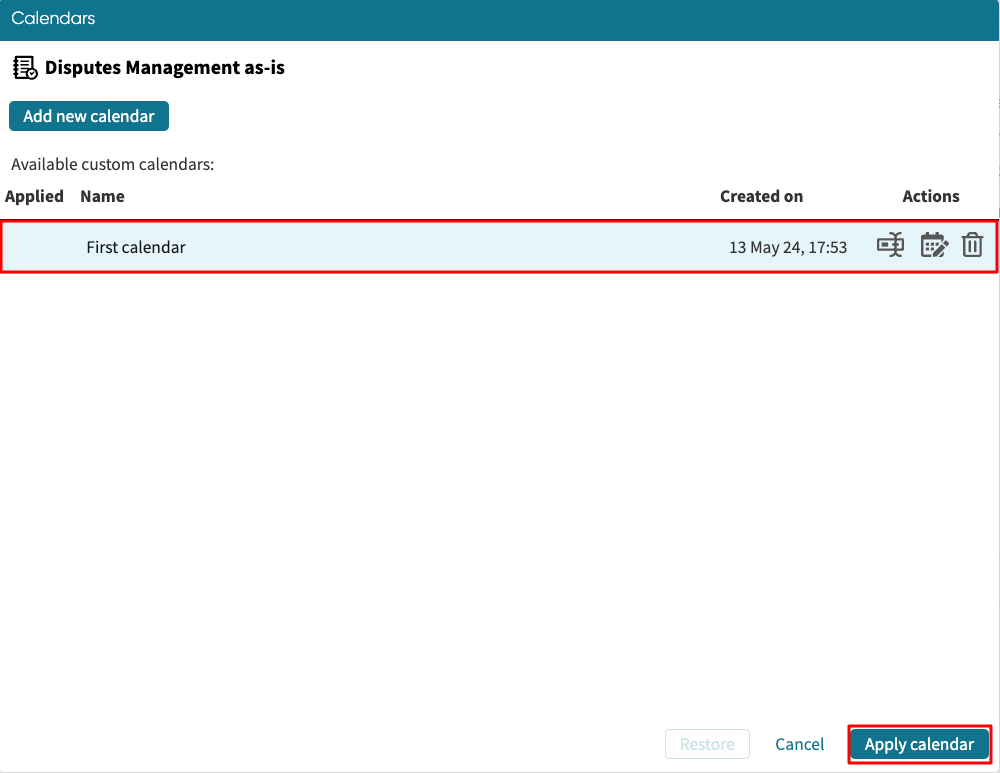
The calendar will be successfully created and displayed in the list of Available custom calendars.
To apply the calendar to the log, select it and click Apply calendar.
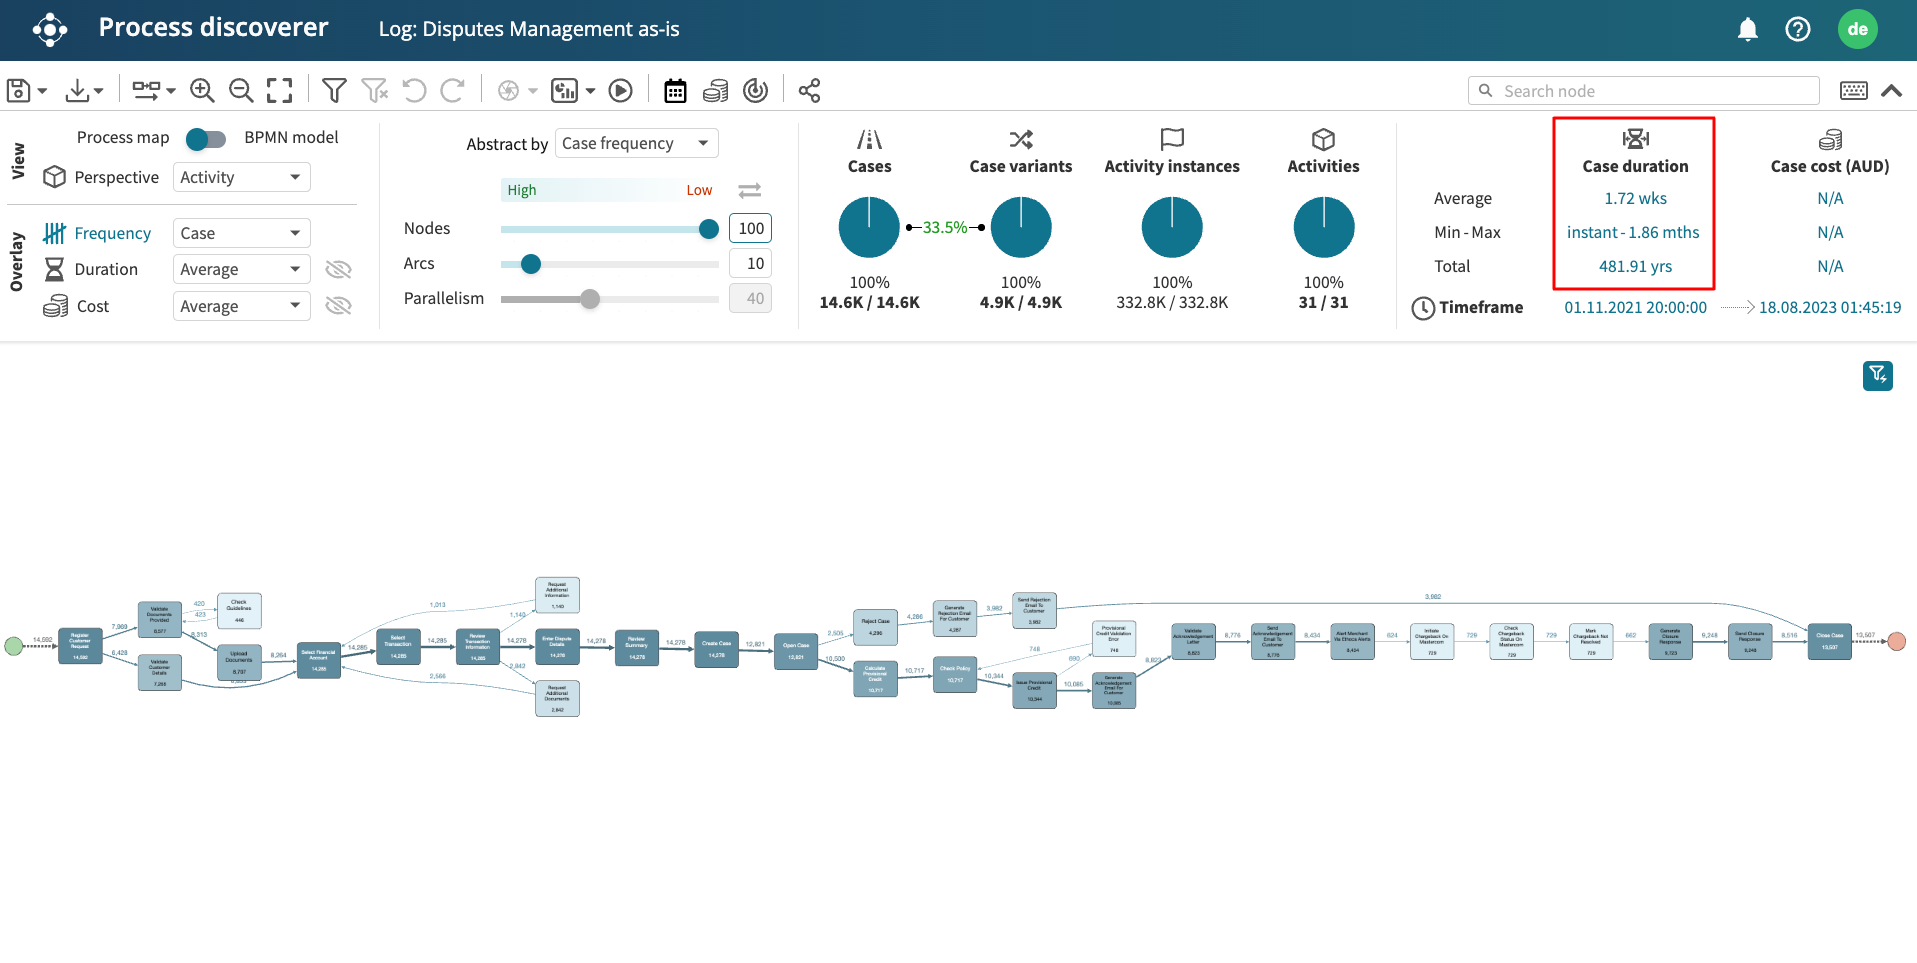
Once the calendar is applied, we can visualize the log in the Process discoverer. After applying the calendar, the actual working time of the resources is taken into consideration. This leads to a change in the case durations.
We can also edit/rename/delete a calendar from Process discoverer. Click the calendar icon from the menu bar.
Select the calendar and click the corresponding button next to it.