Create pipeline component
Building data pipelines often involves merging outputs from multiple data sources. The data from these sources may, however, require separate merging or transformation operations, necessitating their own data pipelines. To enable us to create complex data pipelines involving the combination of smaller data pipelines, we use pipeline components.
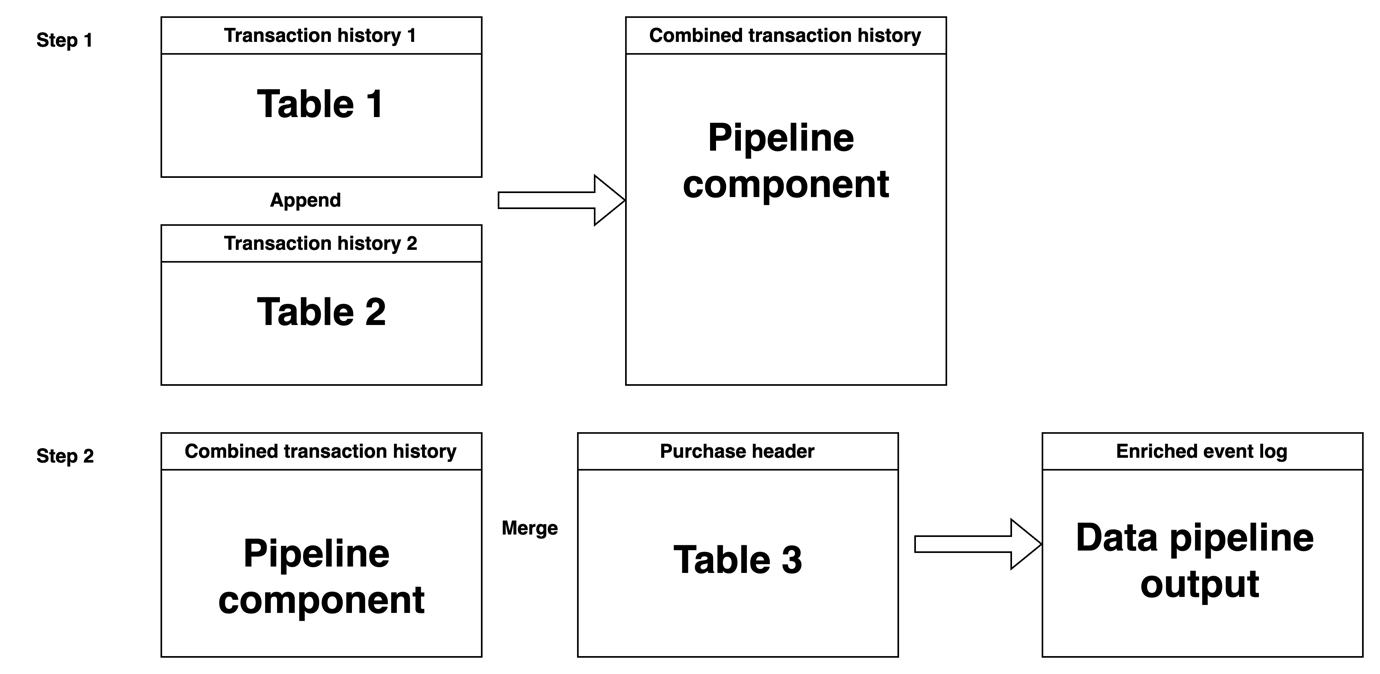
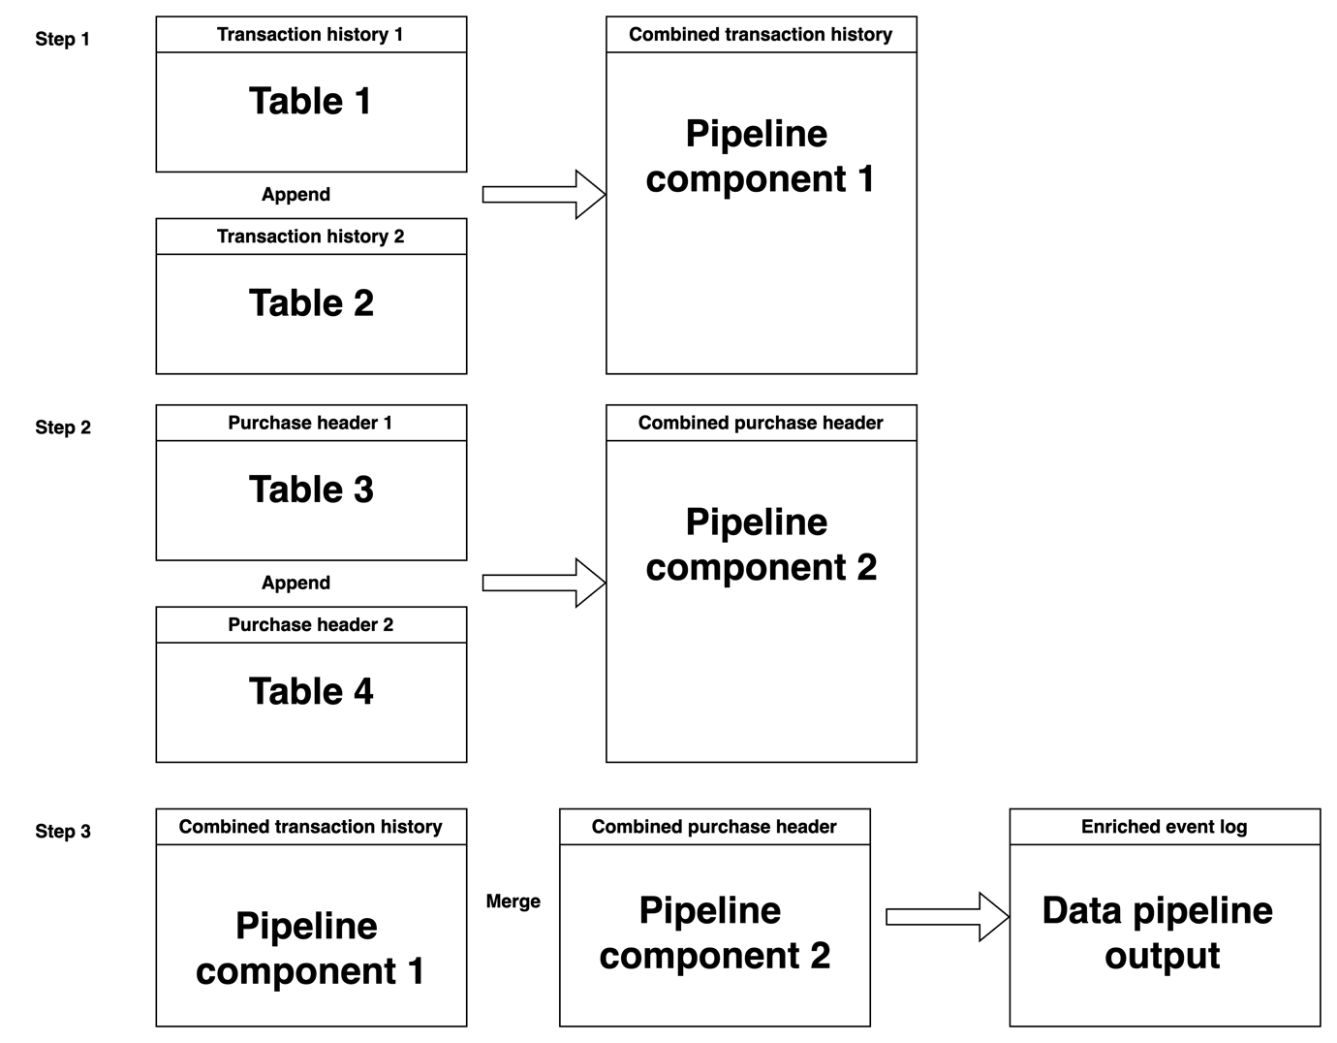
Pipeline components allow us to create sub-pipelines that can be used to create a main data pipeline. For instance, imagine that a procure-to-pay process has the transaction history for two months in separate files. We can create a sub-pipeline (called pipeline component) that appends the two files. To enrich the resulting transaction history with some purchase header, we can create a main data pipeline that merges the pipeline component with the purchase header. The figure below visually depicts the data pipeline operation.
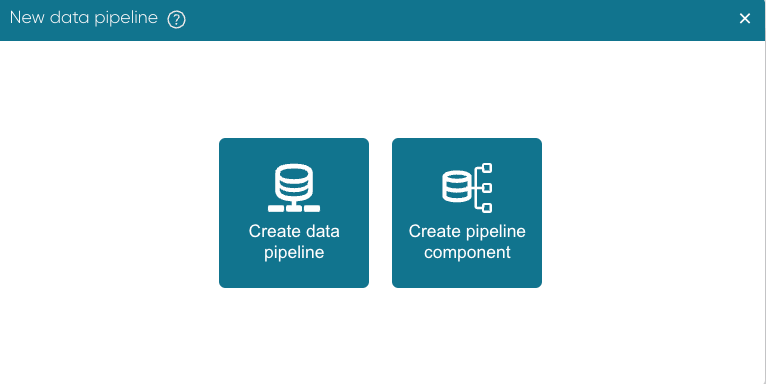
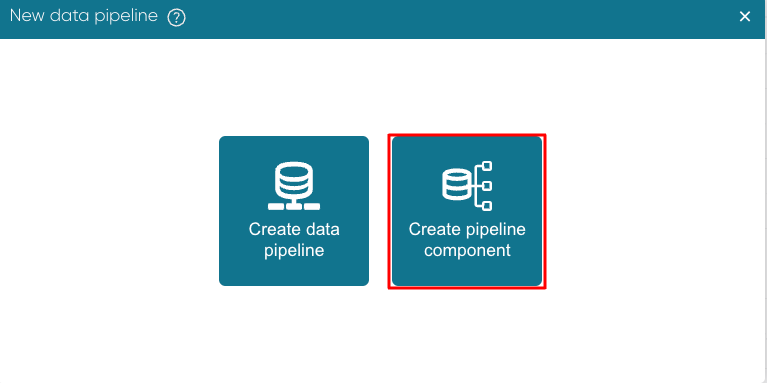
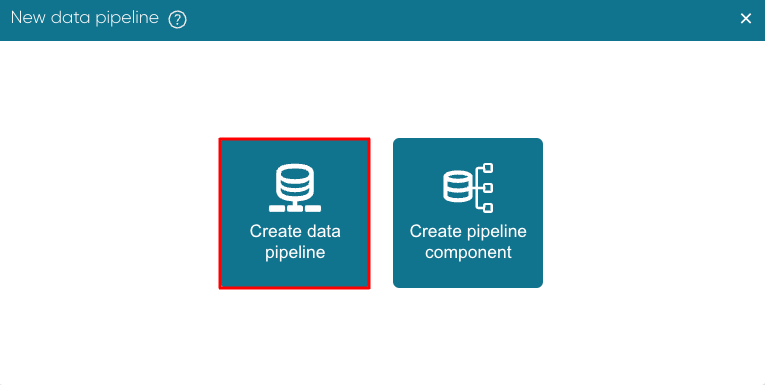
To perform such an operation, we begin by creating the pipeline component. From Portal, click Data > Create pipeline.
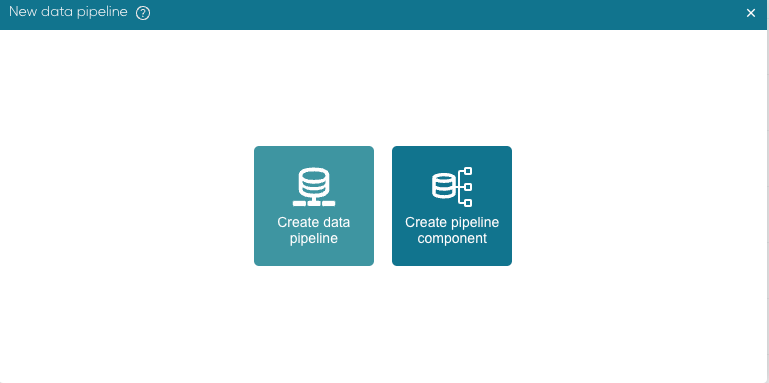
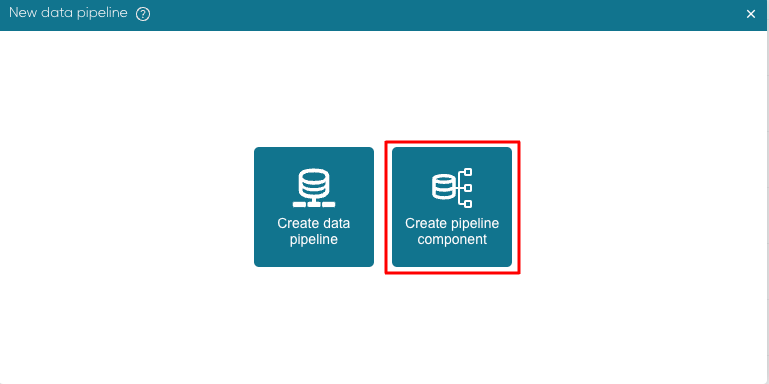
Click Create pipeline component.
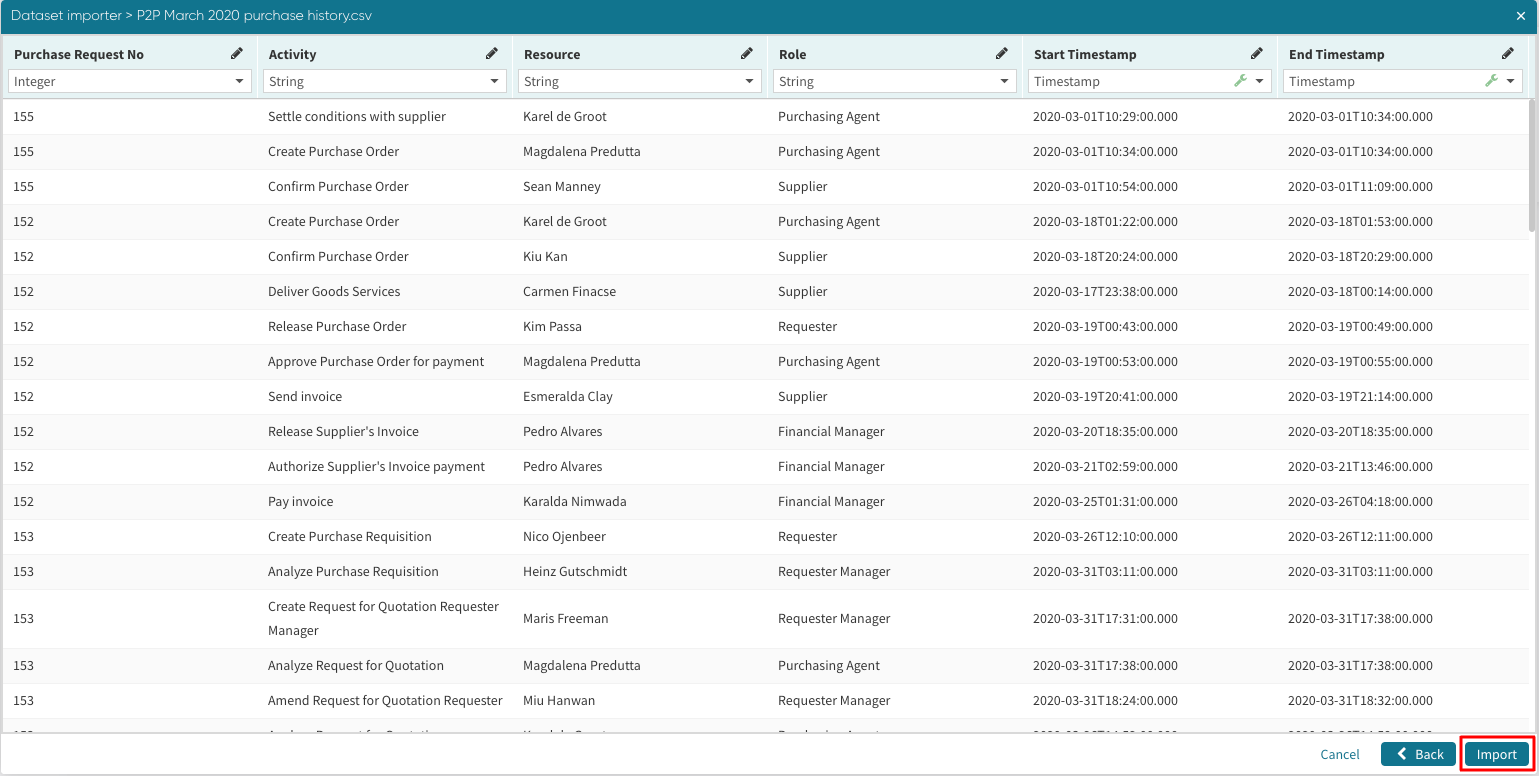
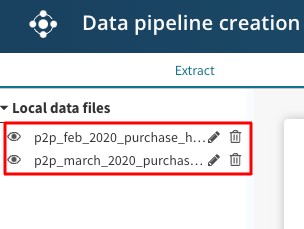
The Data pipeline creation window appears. We can extract the history tables from any of the available sources. In our case, we use File upload. Review the data and click Import.
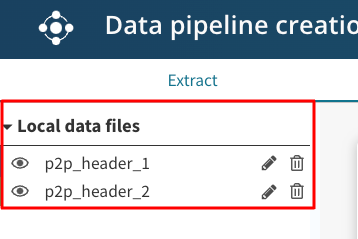
The tables appear in the extract tab.
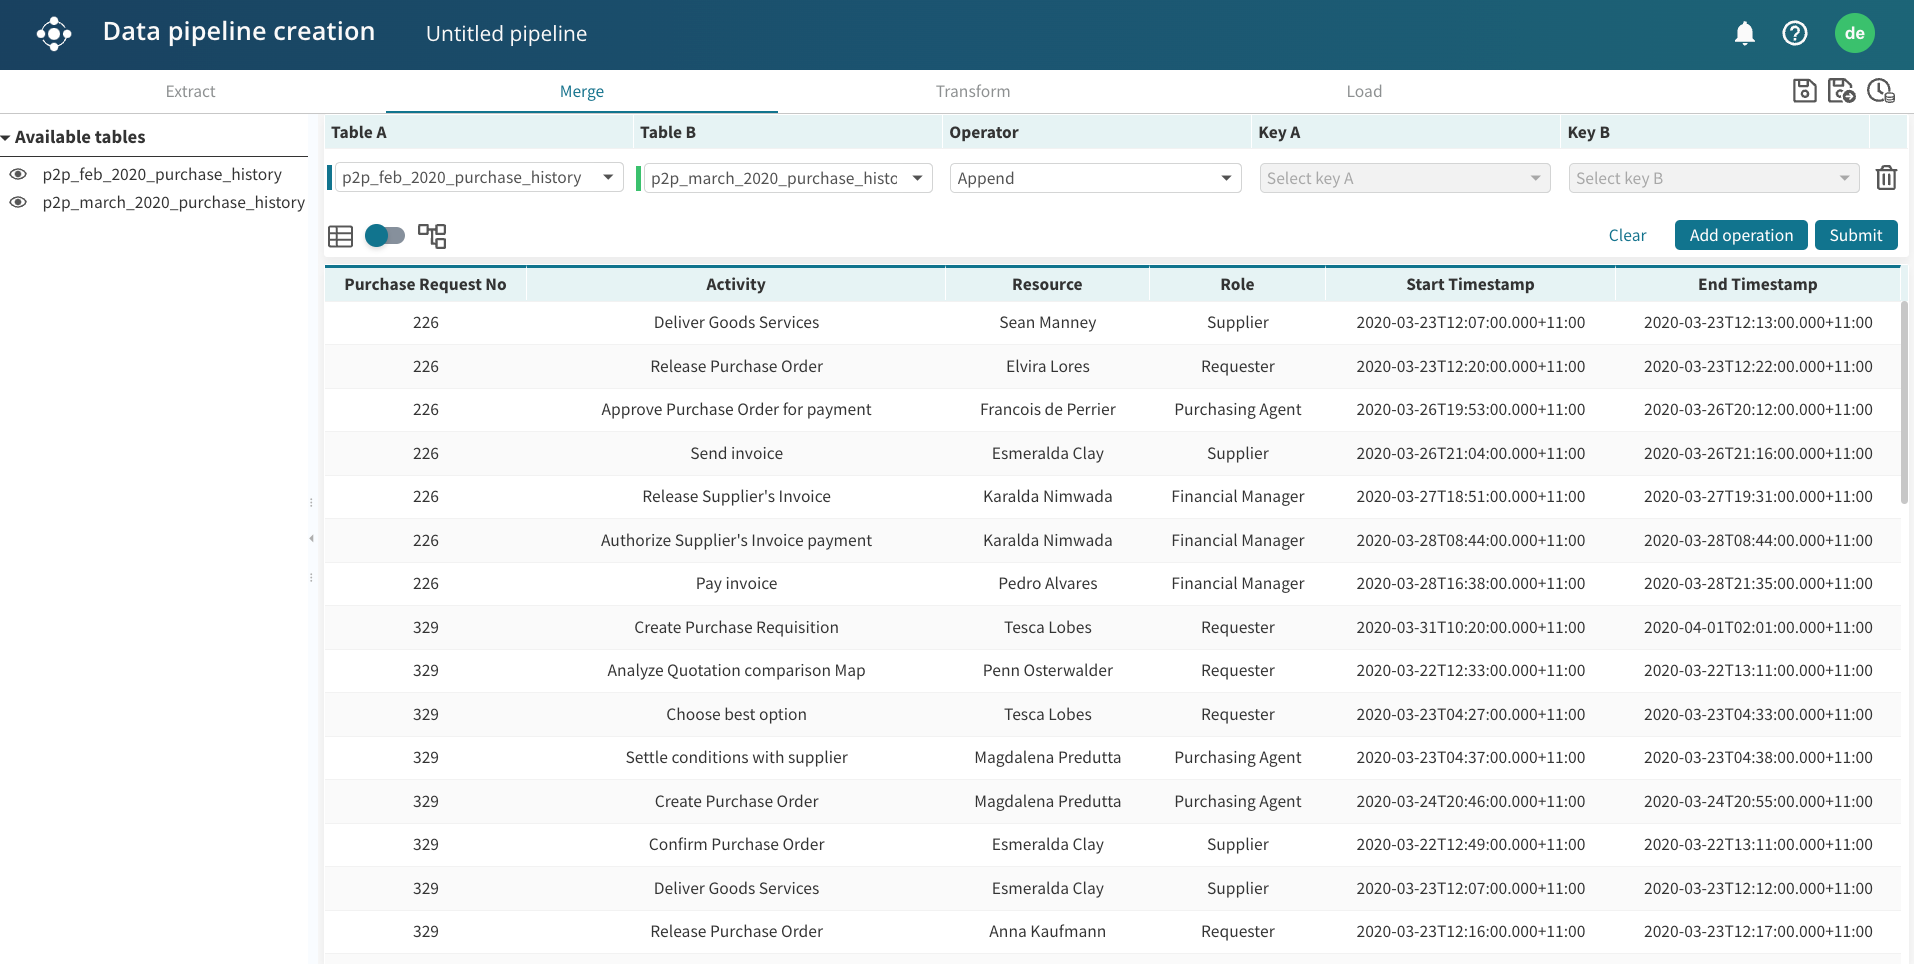
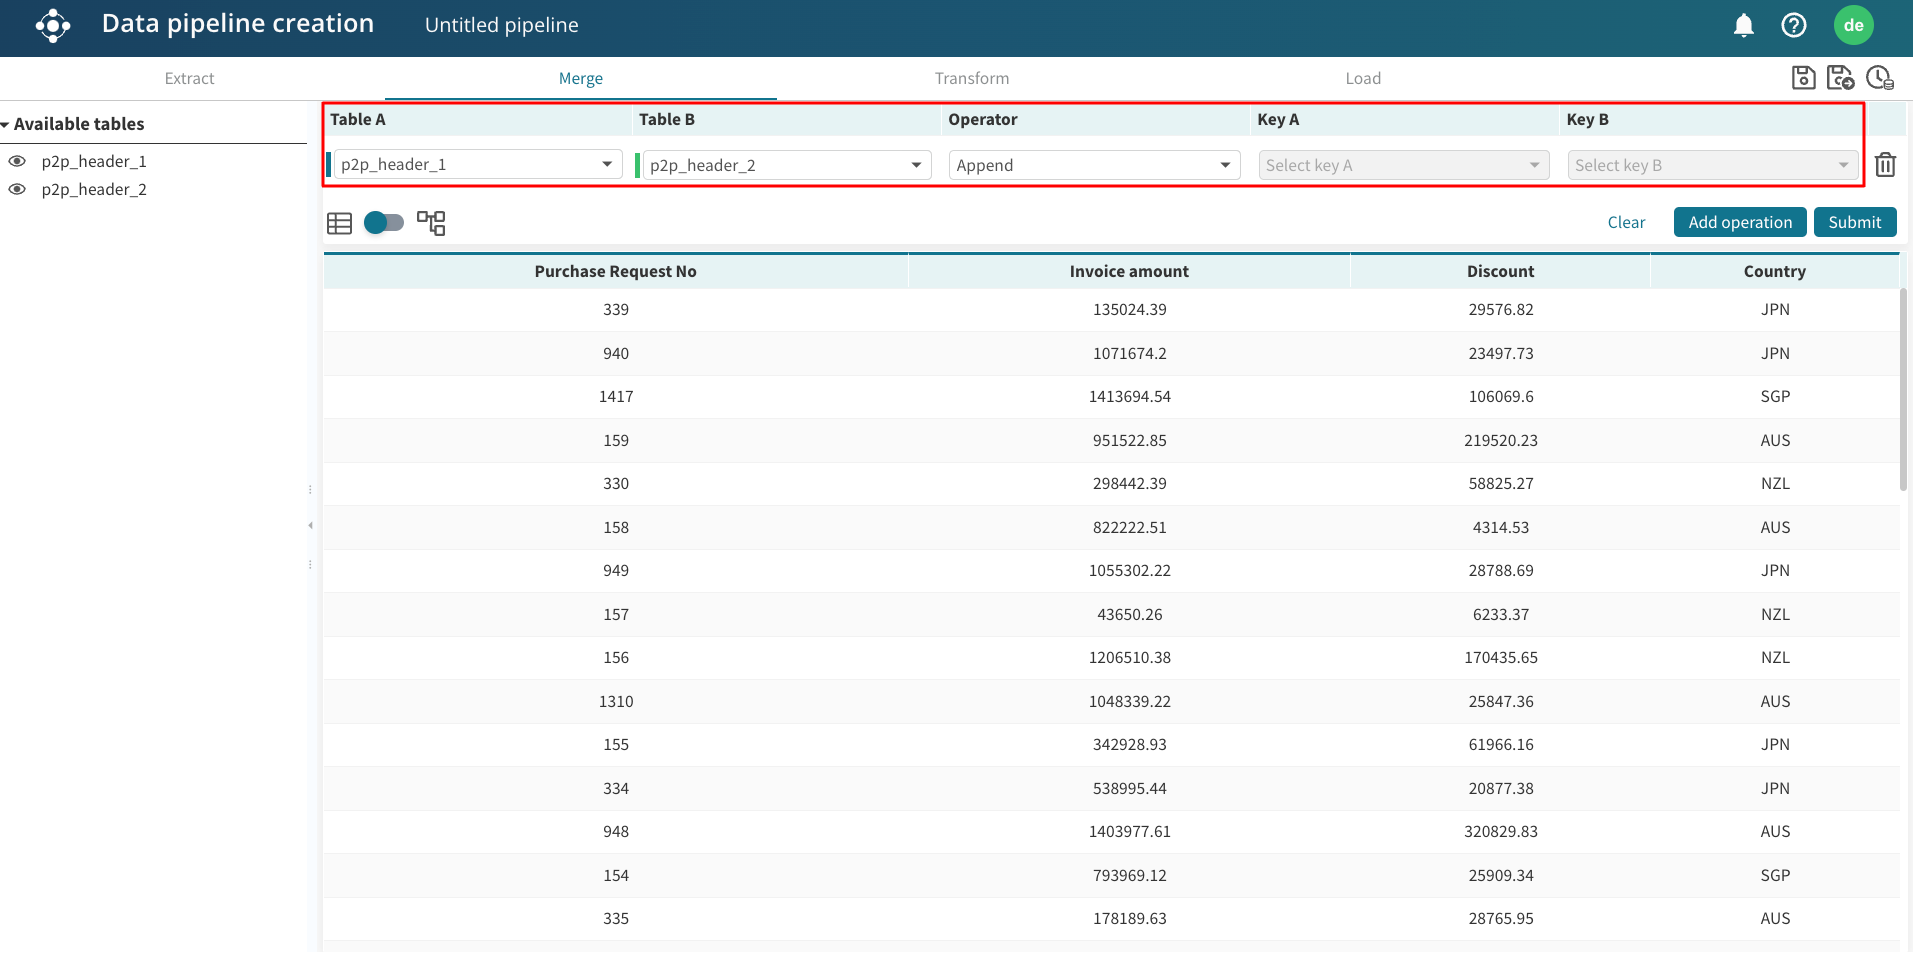
In the Merge step, we can use an append join.
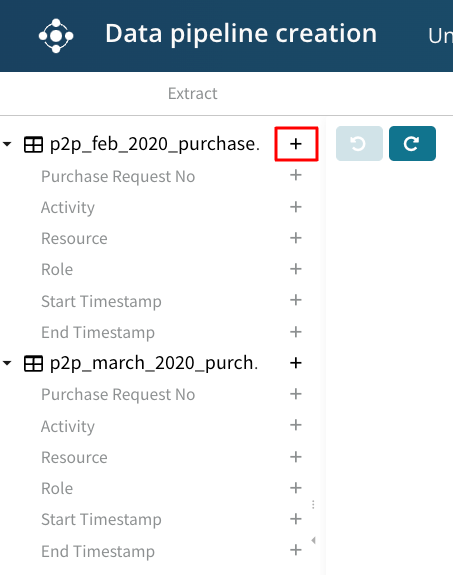
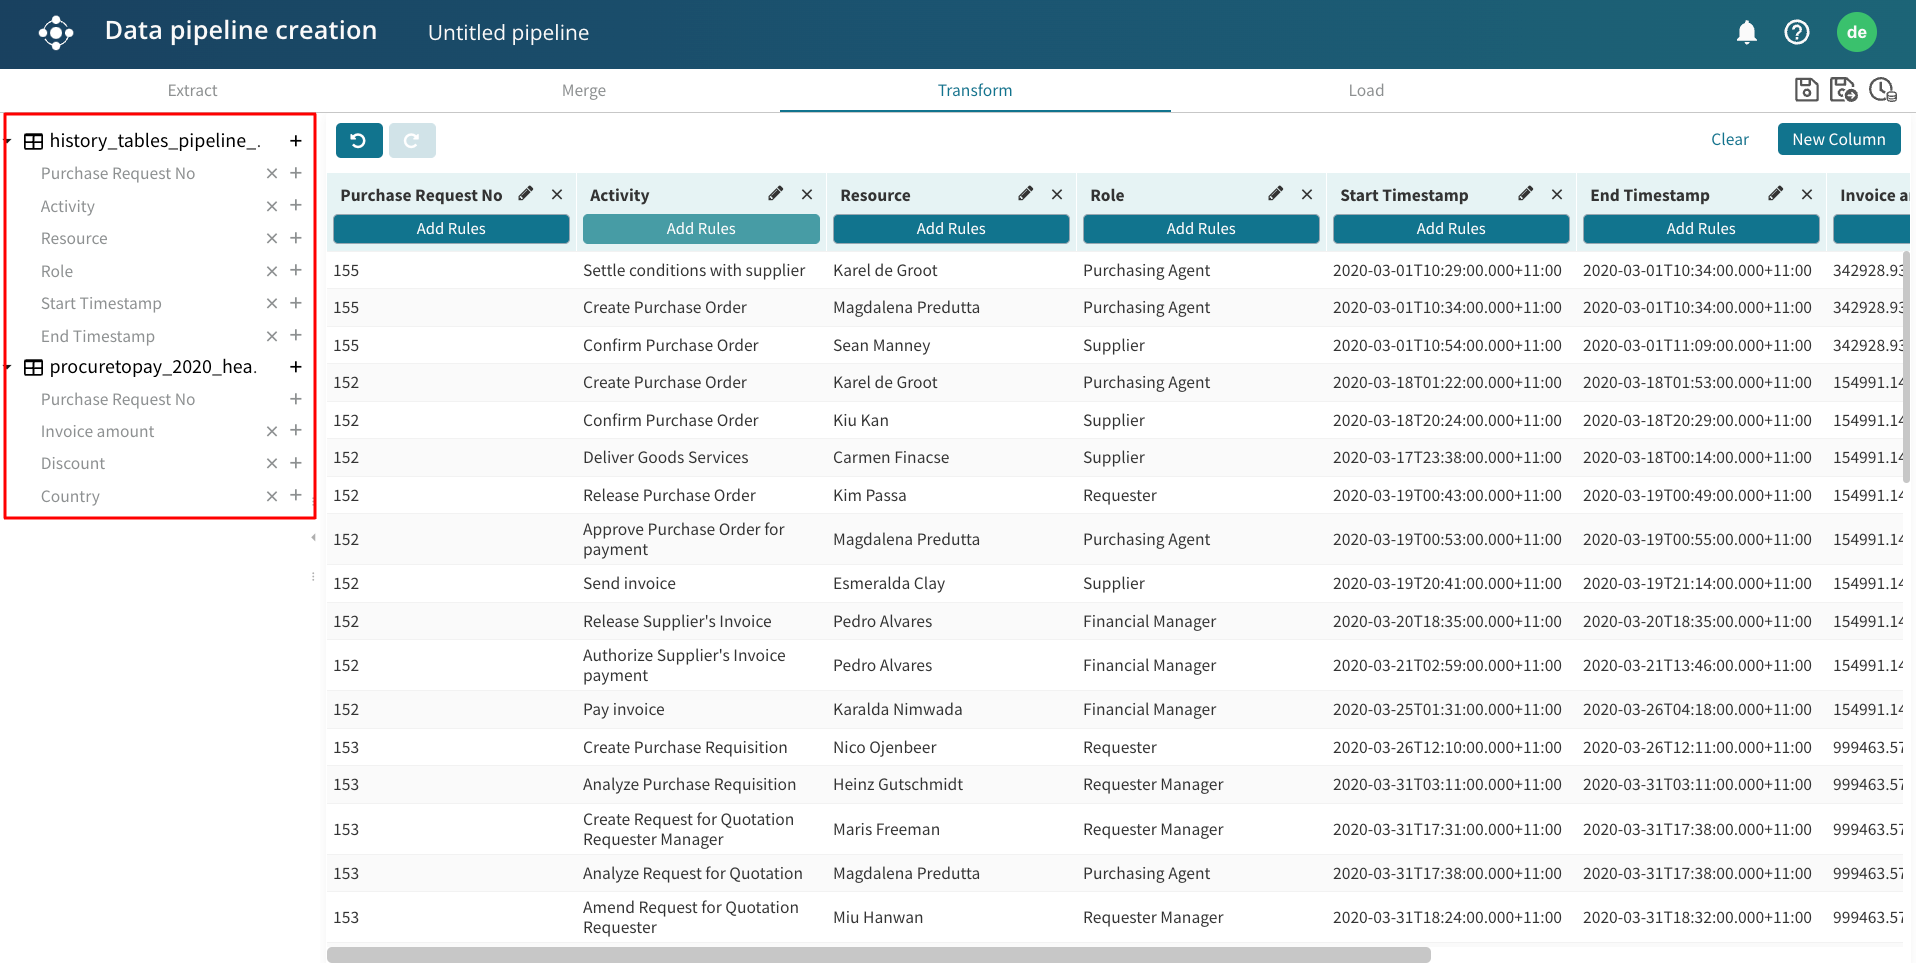
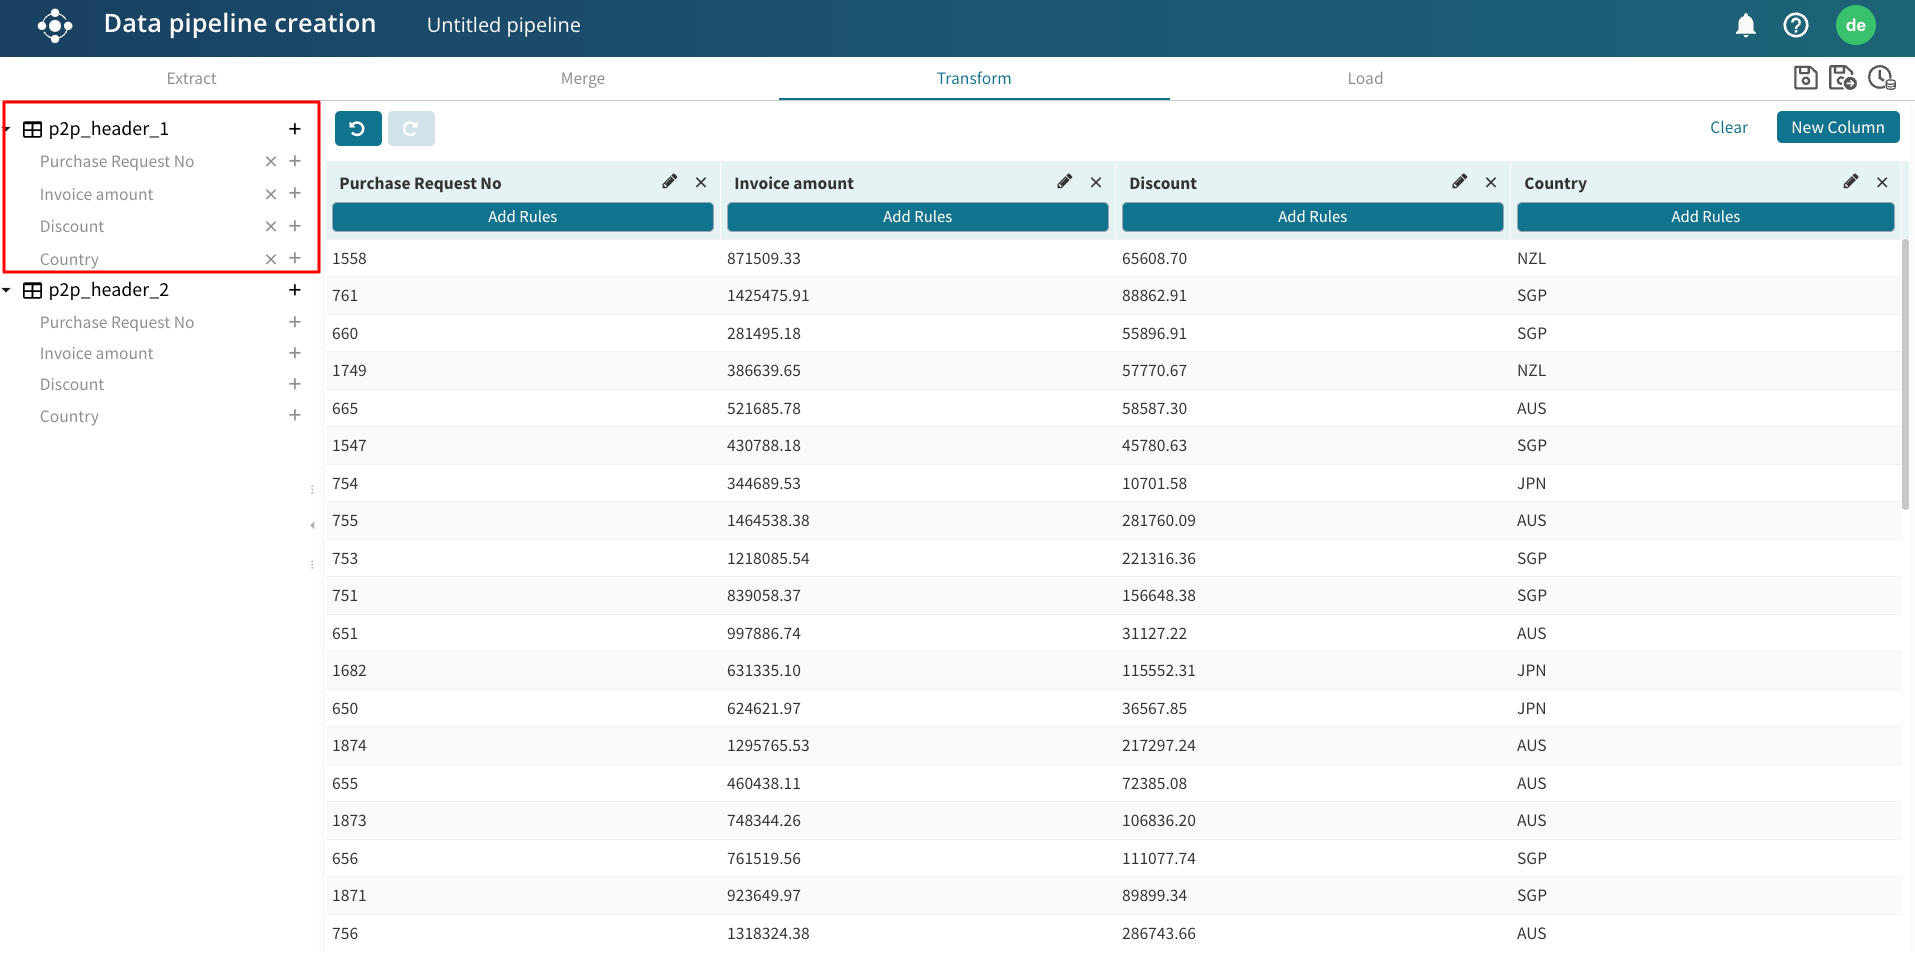
In the Transformation step, add the desired columns.
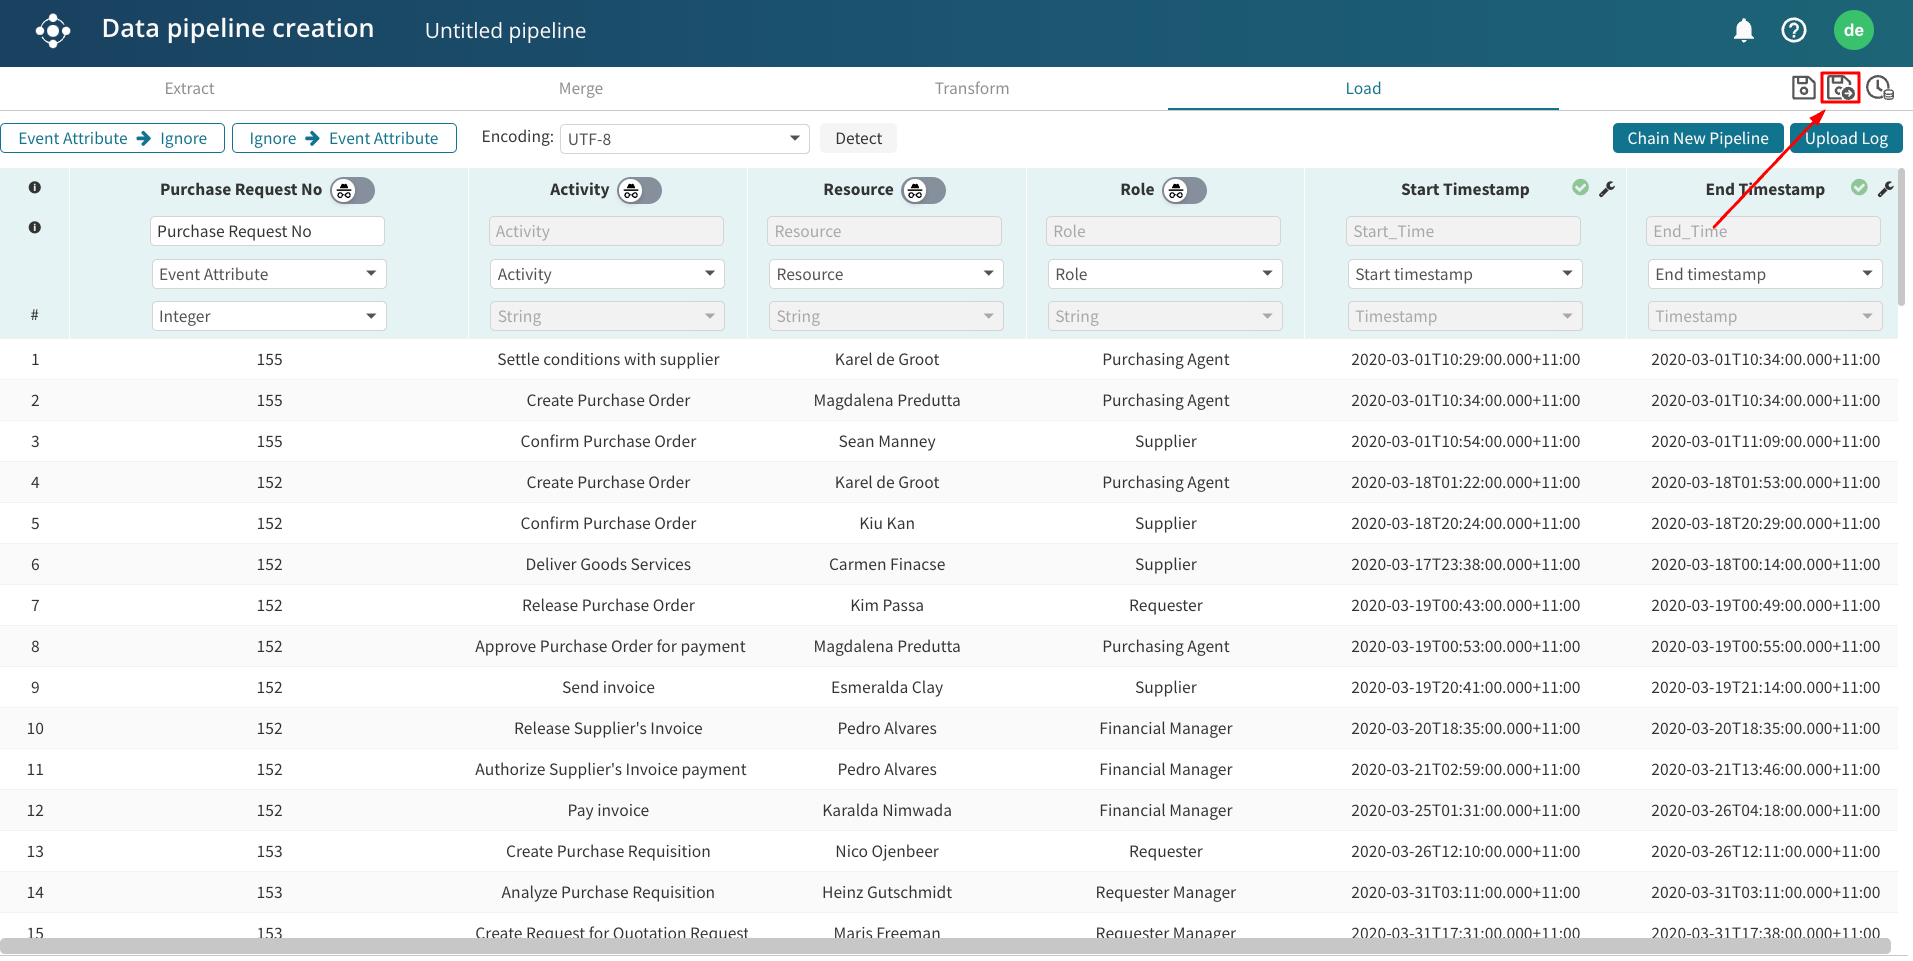
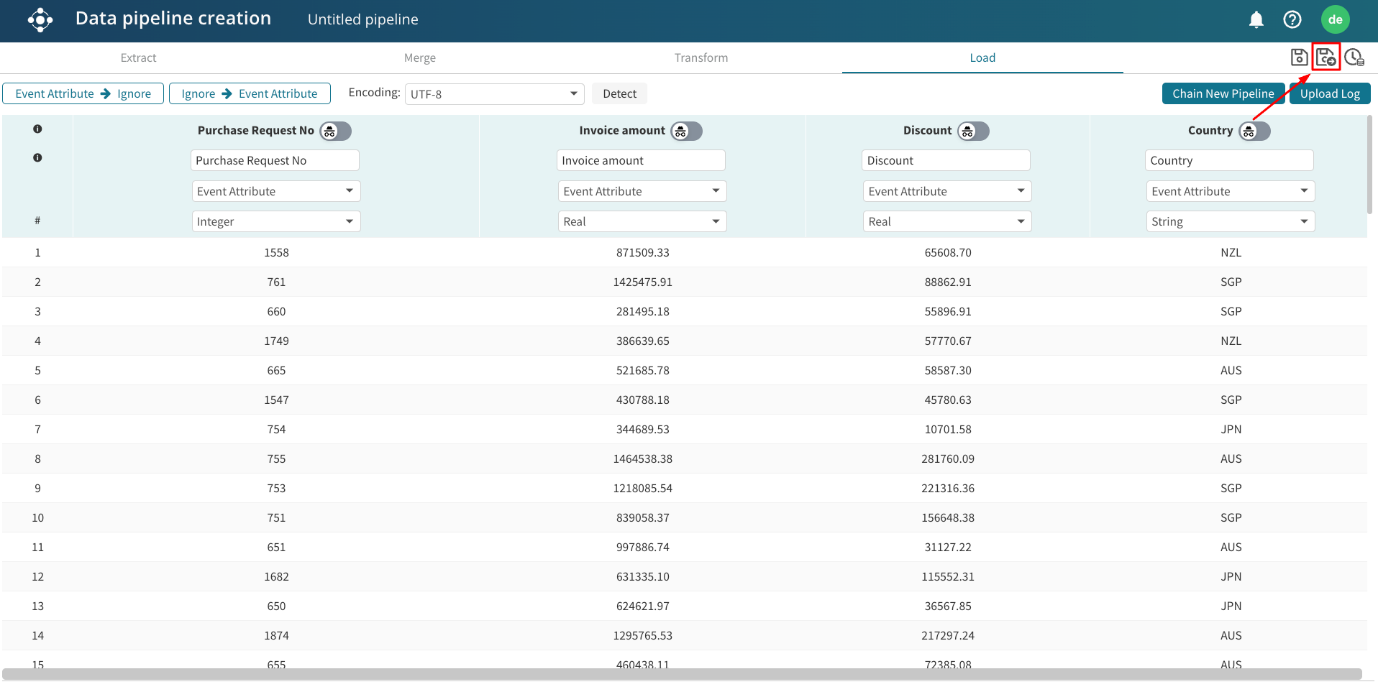
We can perform any further transformation steps to update the columns further. In our case, we leave as is. In the Load step, save and exit the pipeline component.
Note
While a data pipeline must have the Case ID, Activity, and End timestamp columns to be successfully imported, a pipeline component may not have these field names since it is not a complete event log.
Enter a pipeline component name and click Create.
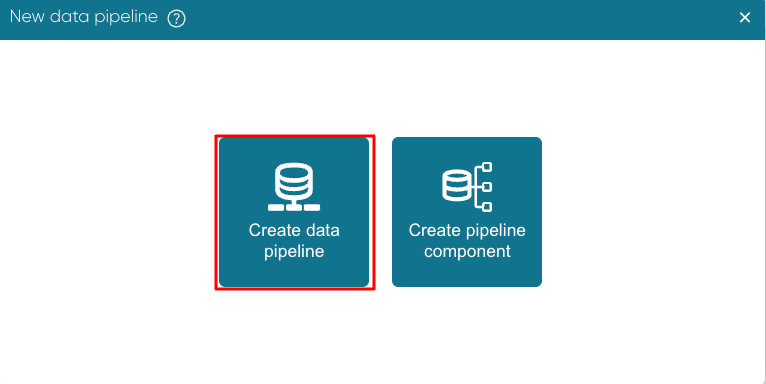
As a next step, we create a data pipeline that enriches the pipeline component with a header table. From Portal, click Data > Create pipeline.
Click Create data pipeline.
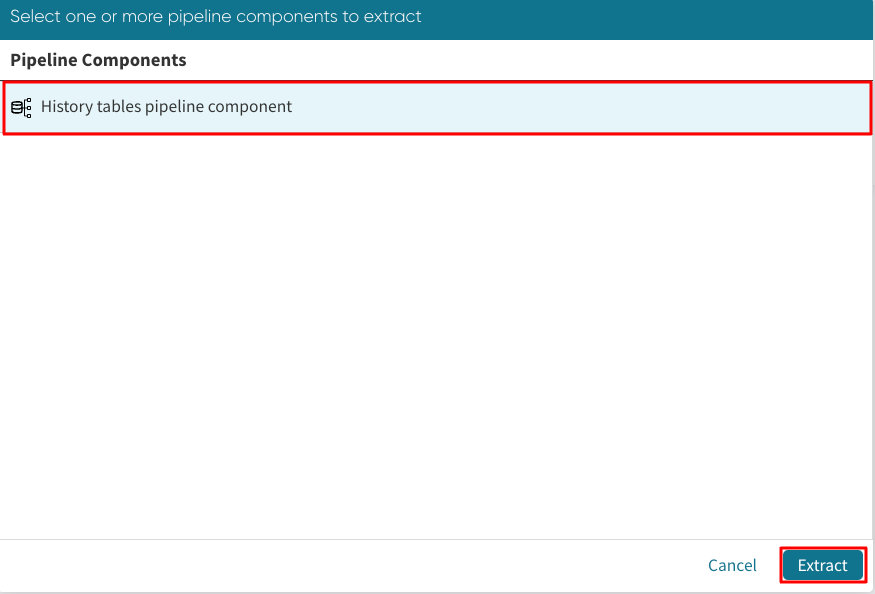
Since the combined history table is the pipeline component, click Pipeline Component to extract it.
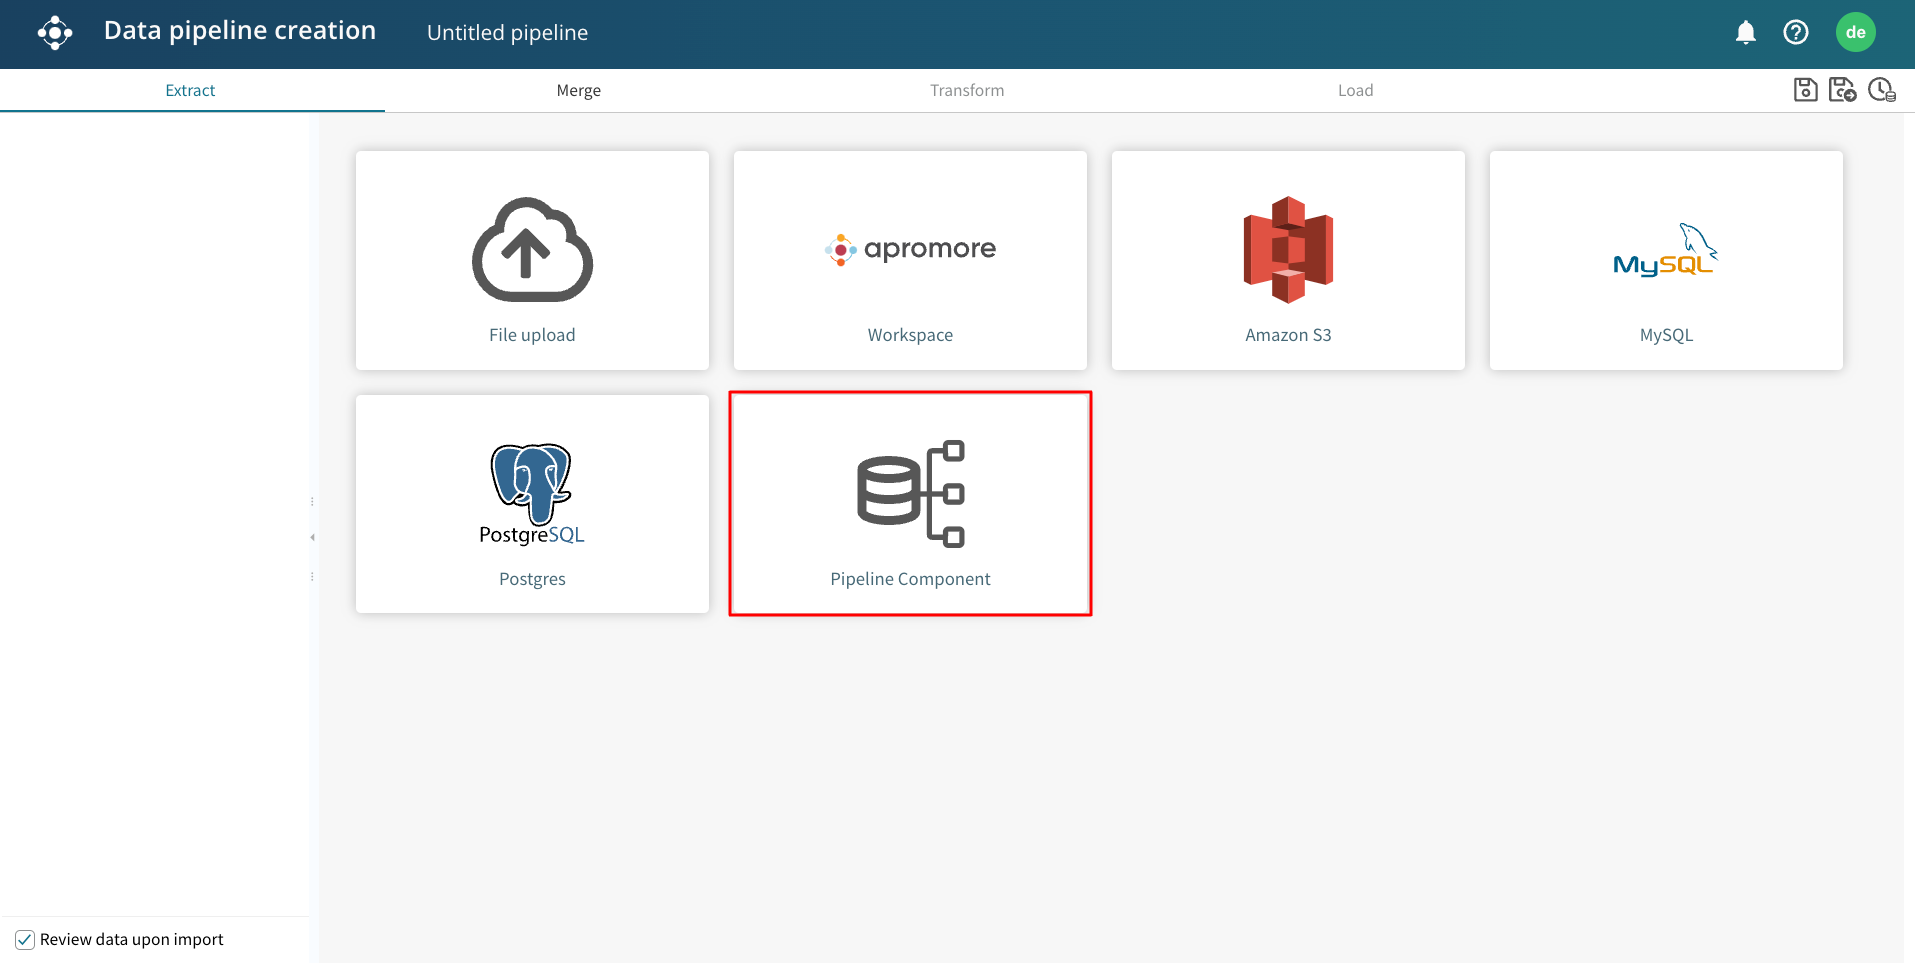
Select the pipeline component and click Extract.
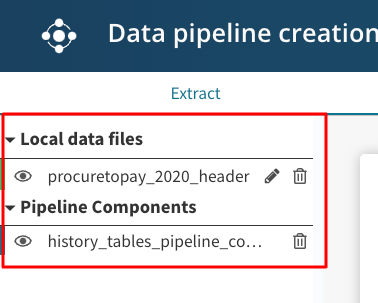
Next, extract the header table through file upload or other means. Both tables appear in the extract tab.
Note
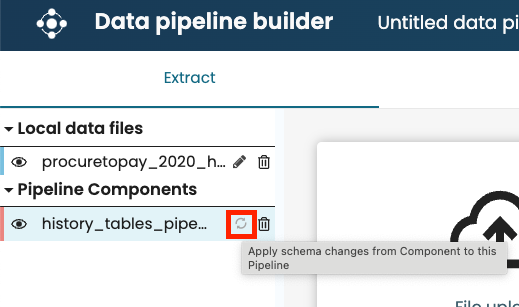
When the schema of an existing pipeline component changes, a refresh button appears in the Extract step of other pipelines utilizing the pipeline component. When we click this button, the pipeline adopts the latest pipeline component.
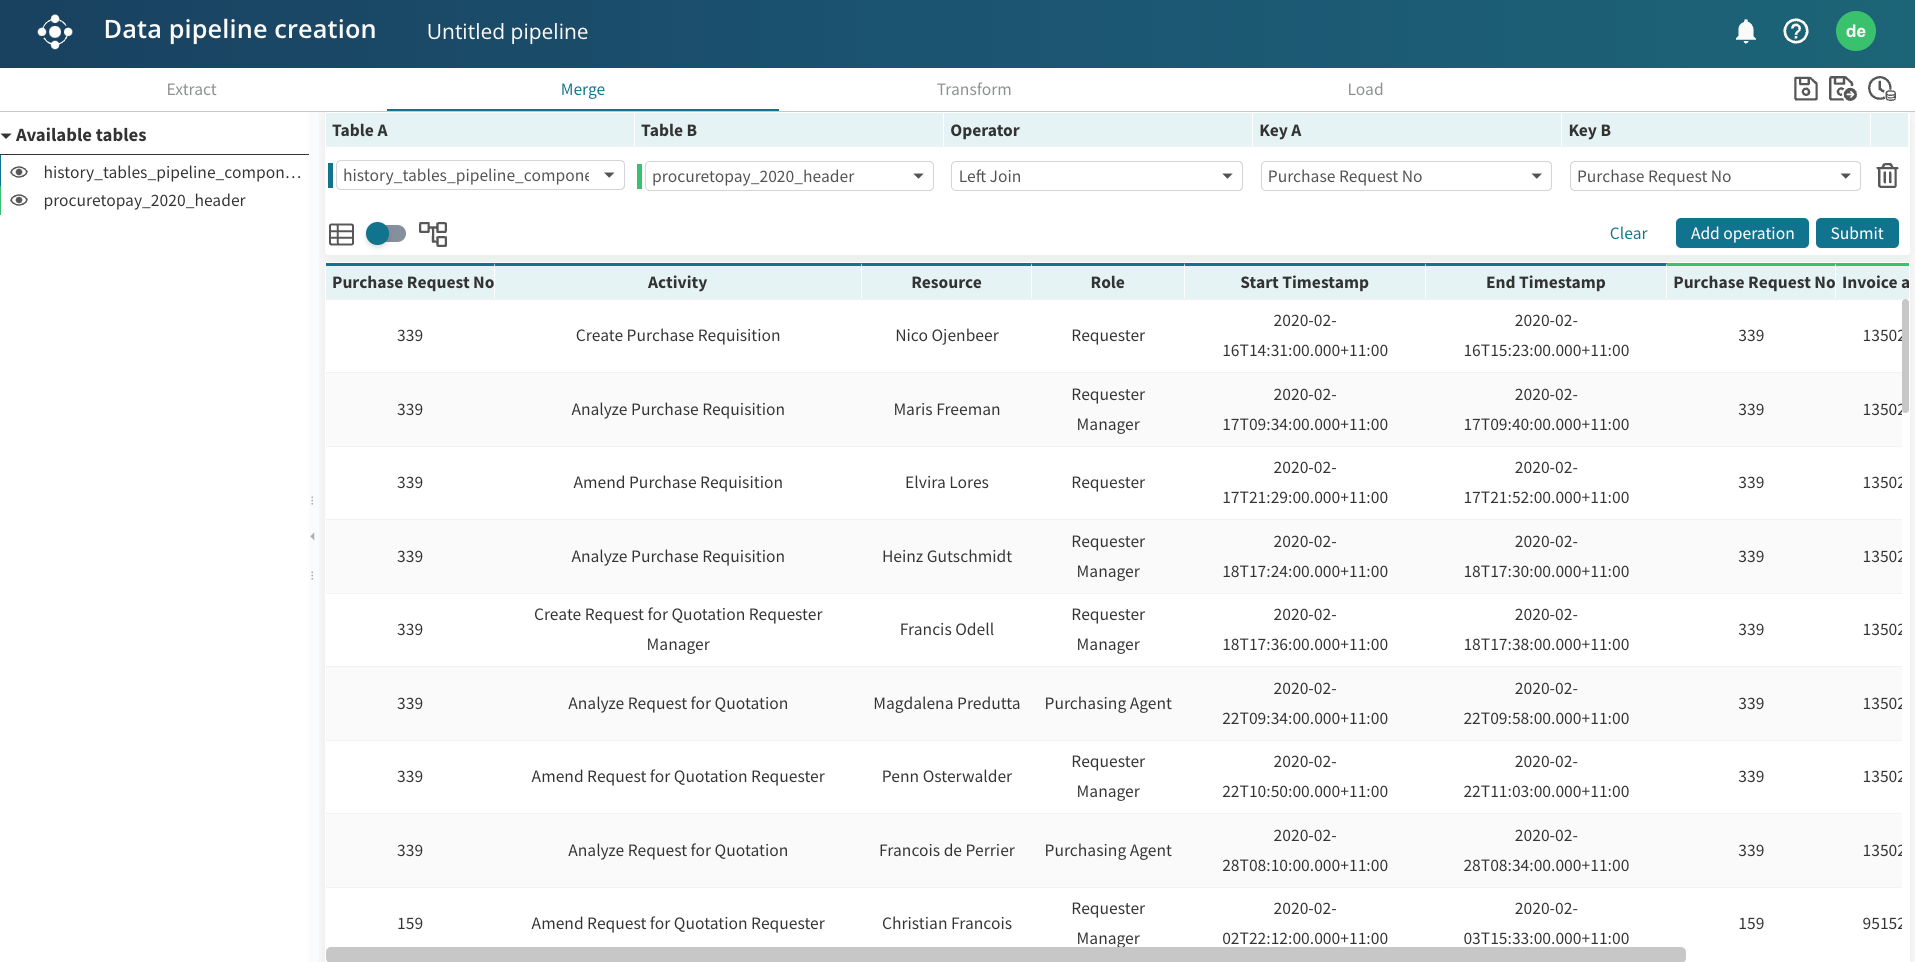
We can then merge the tables using a left join.
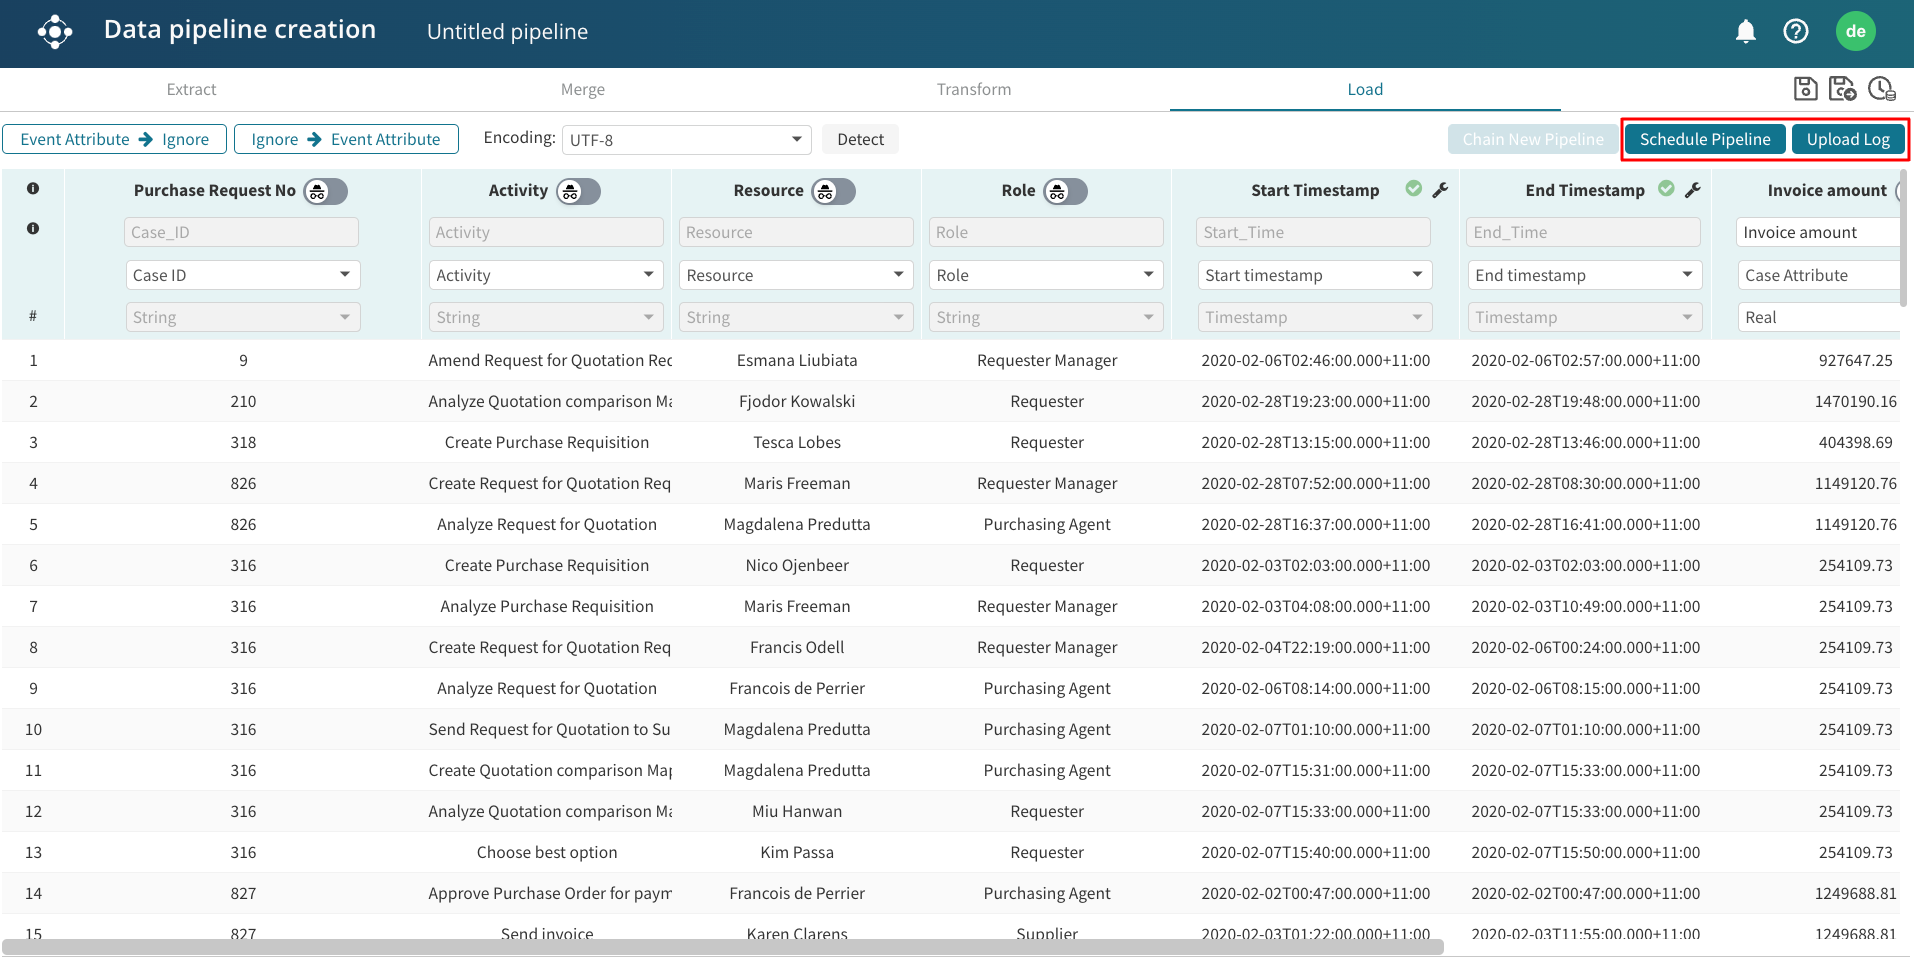
Perform any necessary transformation steps in the Transform tab. In our case, we add the columns.
We can then schedule the pipeline or upload the log to our Apromore Workspace.
We can create a more complex data pipeline that combines multiple pipeline components. For instance, a first pipeline component (PC1) that appends multiple history tables, and a second pipeline component (PC2) joins multiple header tables. The main data pipeline then joins the output of PC1 and PC2. Note that to join these pipeline components, each pipeline component must have the same joining key.
The figure below describes this process visually.
We begin by creating PC1 — appending multiple history tables. This is the same step as the previous example. Next, we create PC2 — appending multiple header tables. From Portal, click Data > Create pipeline. Click Create pipeline component.
Extract the header tables.
Merge both tables using append join.
We can perform any transformation we deem necessary. In our case, we add all the columns from one of the tables.
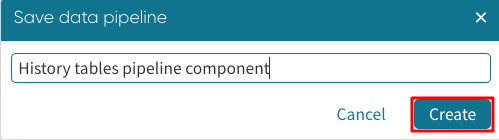
To save the pipeline component, click the save and exit icon  .
.
We can call the pipeline component, headers pipeline component. Click Create.

Now we have both pipeline components, “History tables pipeline component” and “Headers pipeline component”, we can create a main data pipeline that combines them.
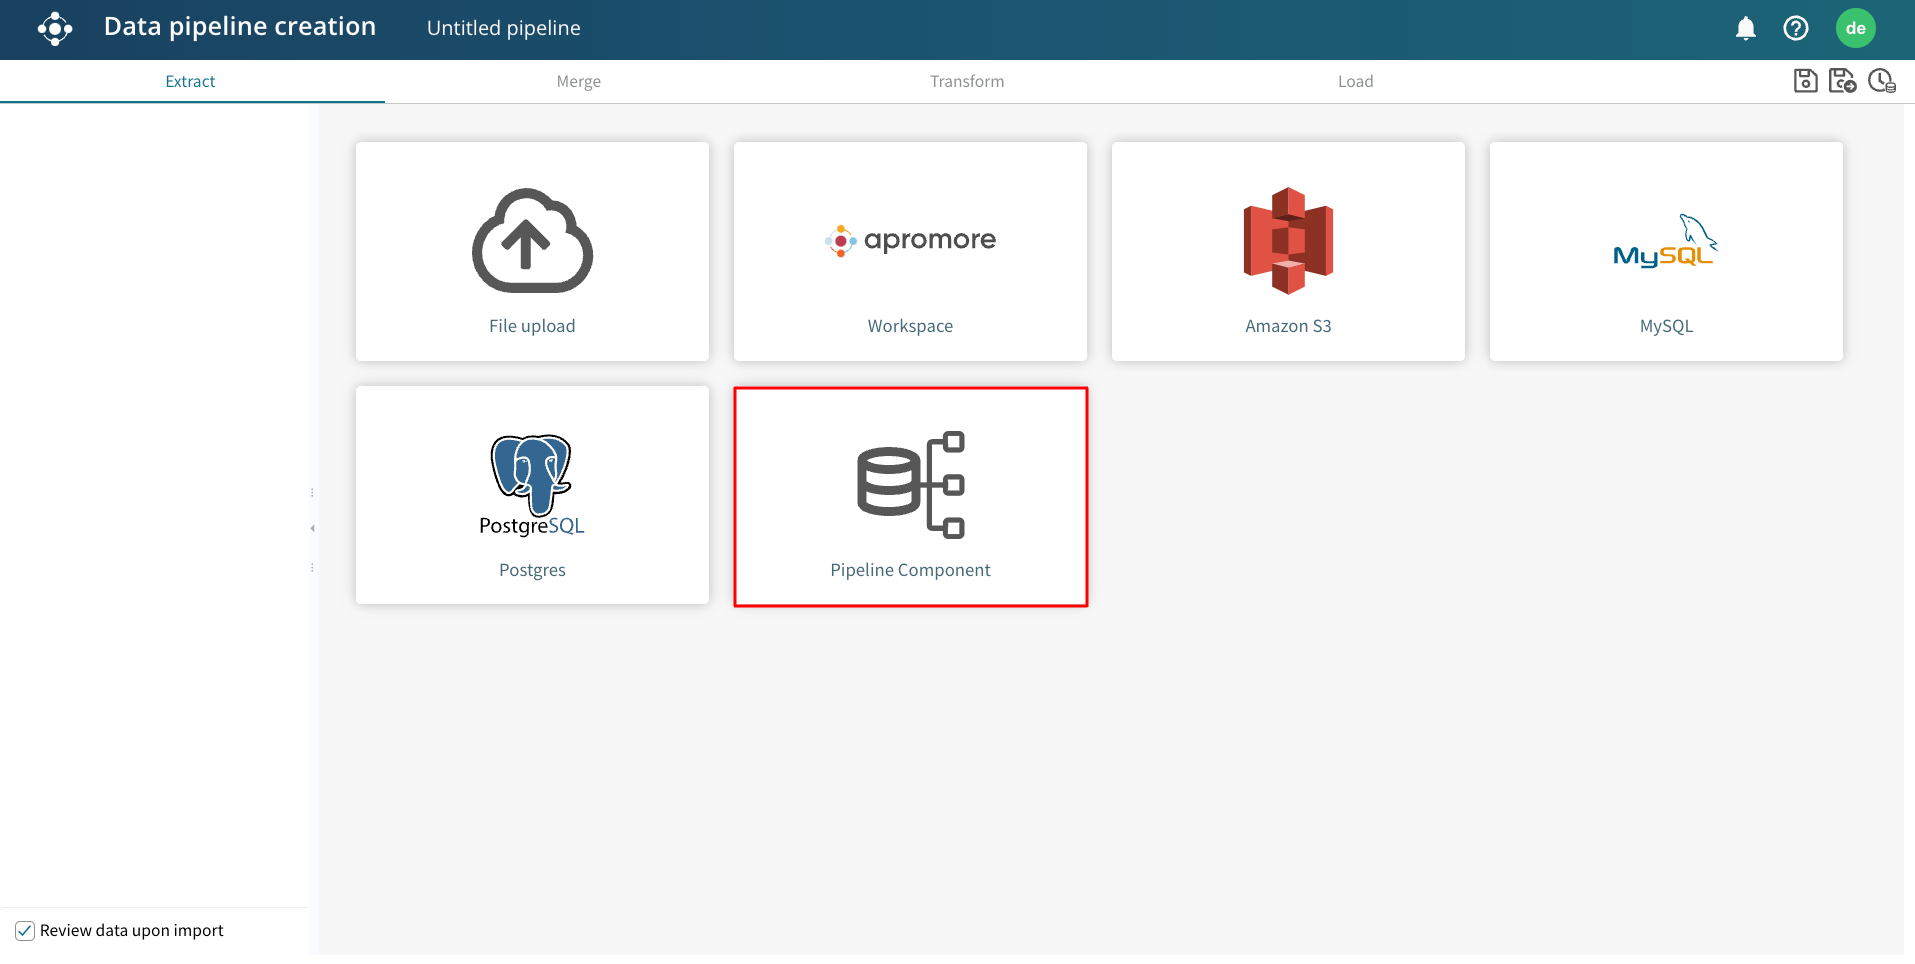
From Portal, click Data > Create pipeline. Click Create data pipeline.
In the Extract step, click Pipeline component.
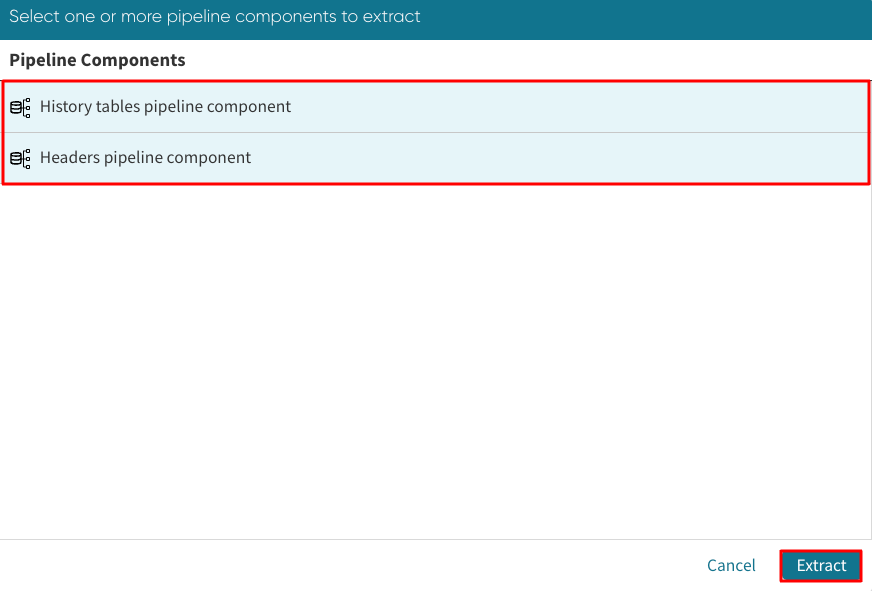
This displays the saved pipeline components. Select the two pipeline components we wish to create this data pipeline off and click Extract.
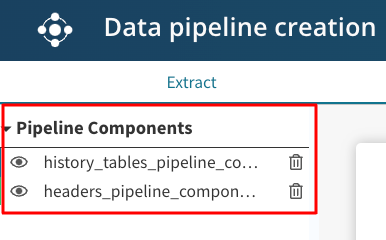
Once extracted successfully, the data components appear in the Extract step.
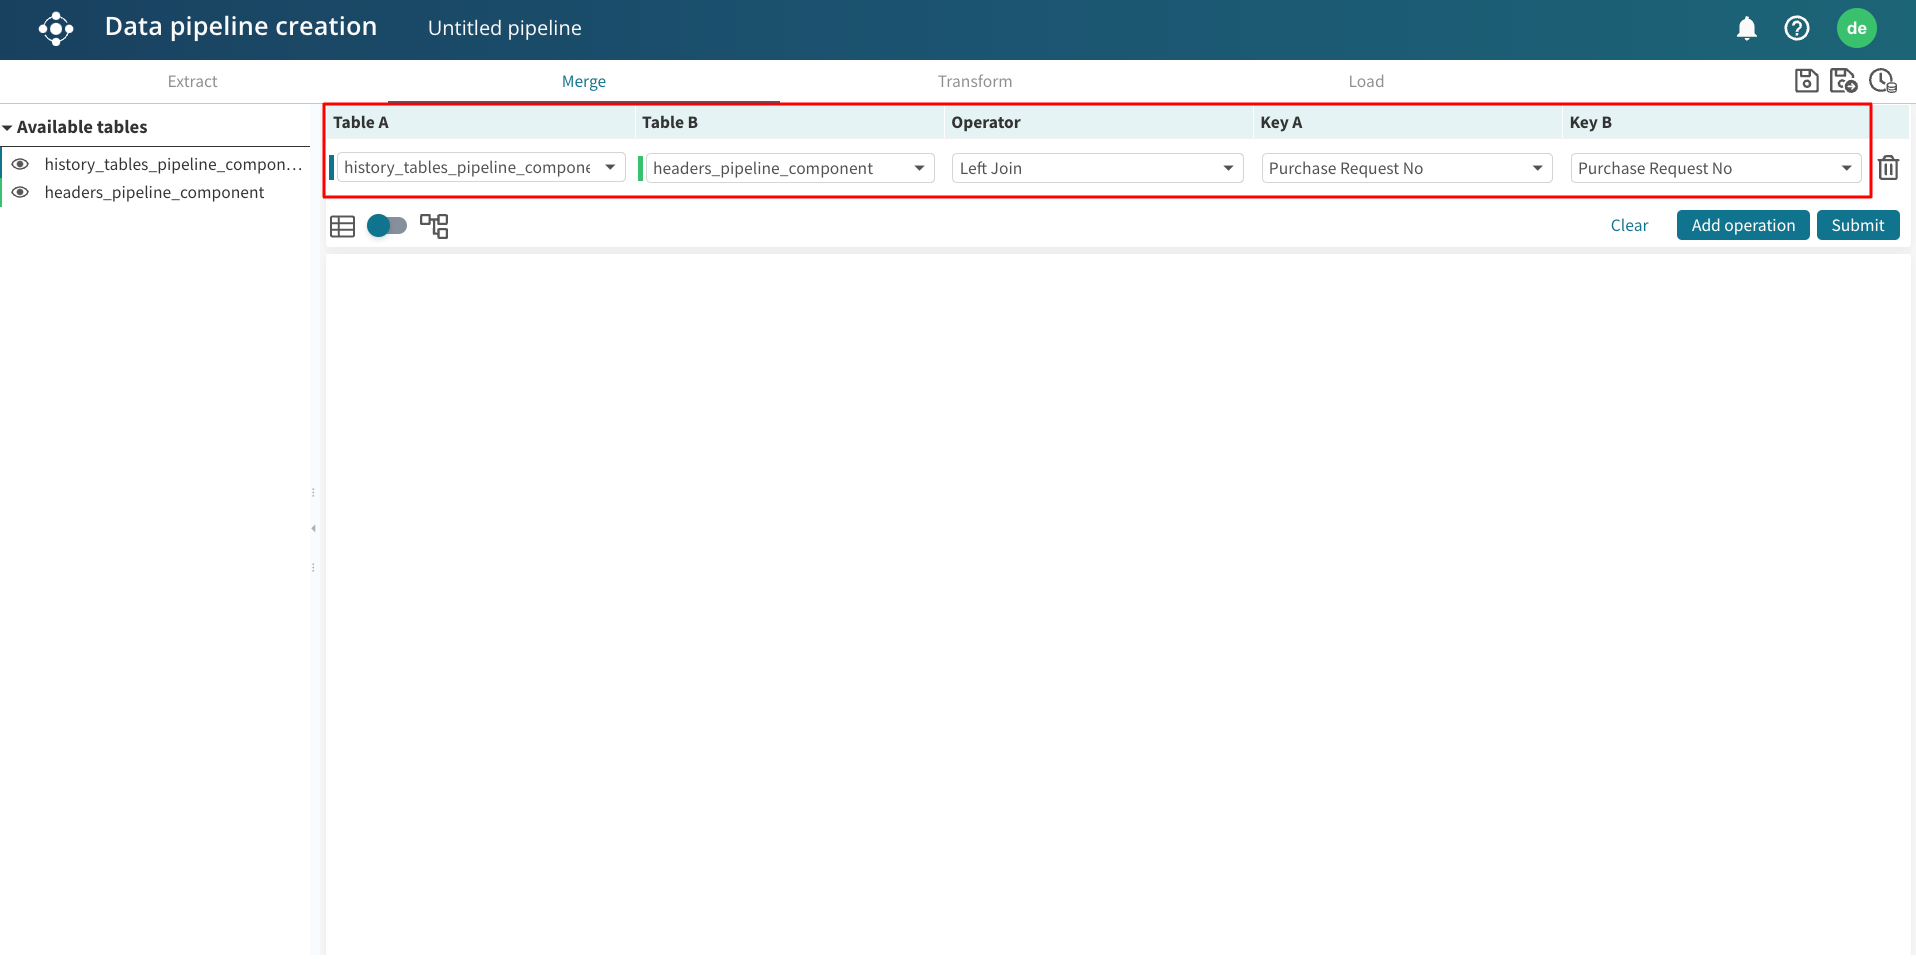
In the Merge step, we perform a left join from the history table pipeline component (PC1).
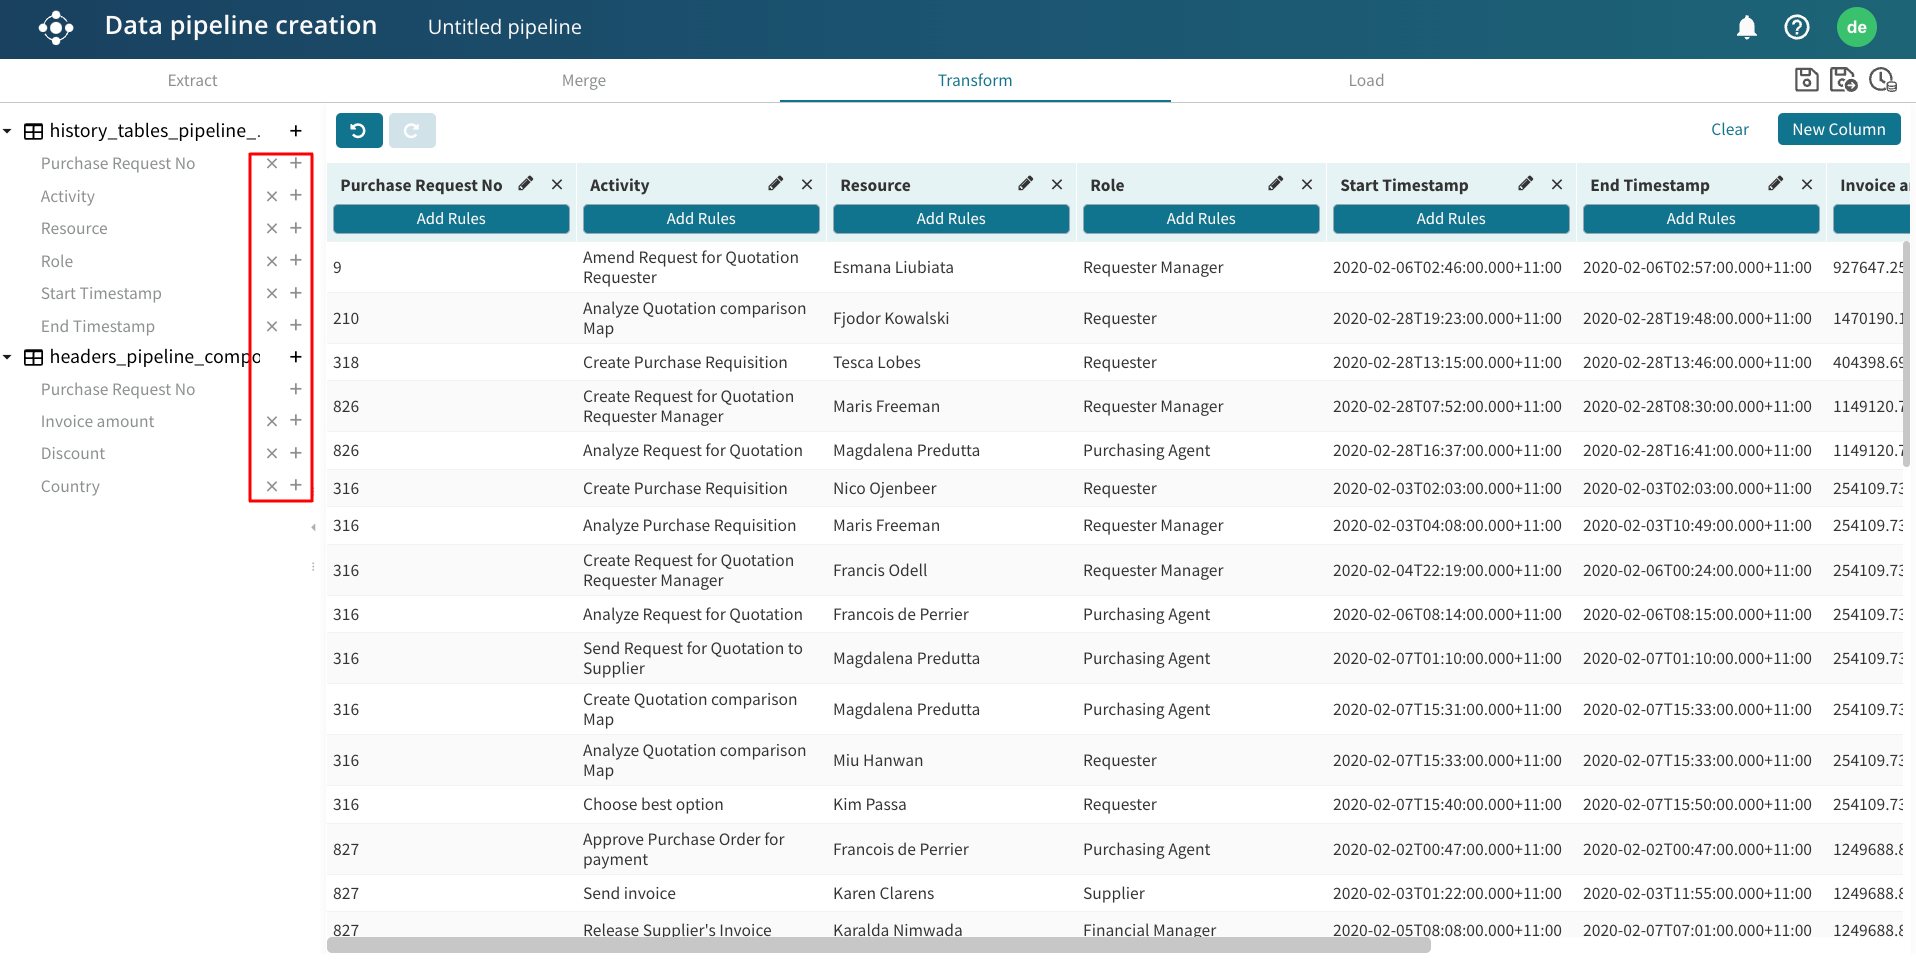
In the Transform step, we can add the relevant columns and perform any relevant transformation.
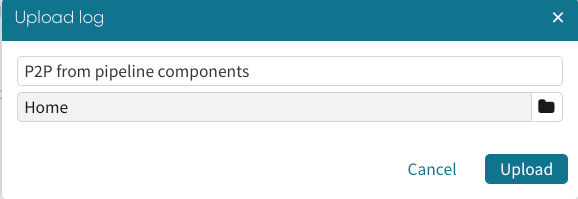
In the Load step, we now must specify the Case ID, Activity, and End timestamp fields since this is a complete event log. Click Schedule Pipeline to schedule the pipeline at a regular interval. Alternatively, we can click Upload log to upload on our Apromore Workspace as a one-off event.

Enter a name and click Upload.
The log appears in the specified folder.