Save filter
Apromore allows us to save filters and load the saved filters at a later time. To save a filter, we first need to create a new filter and then save the filter.
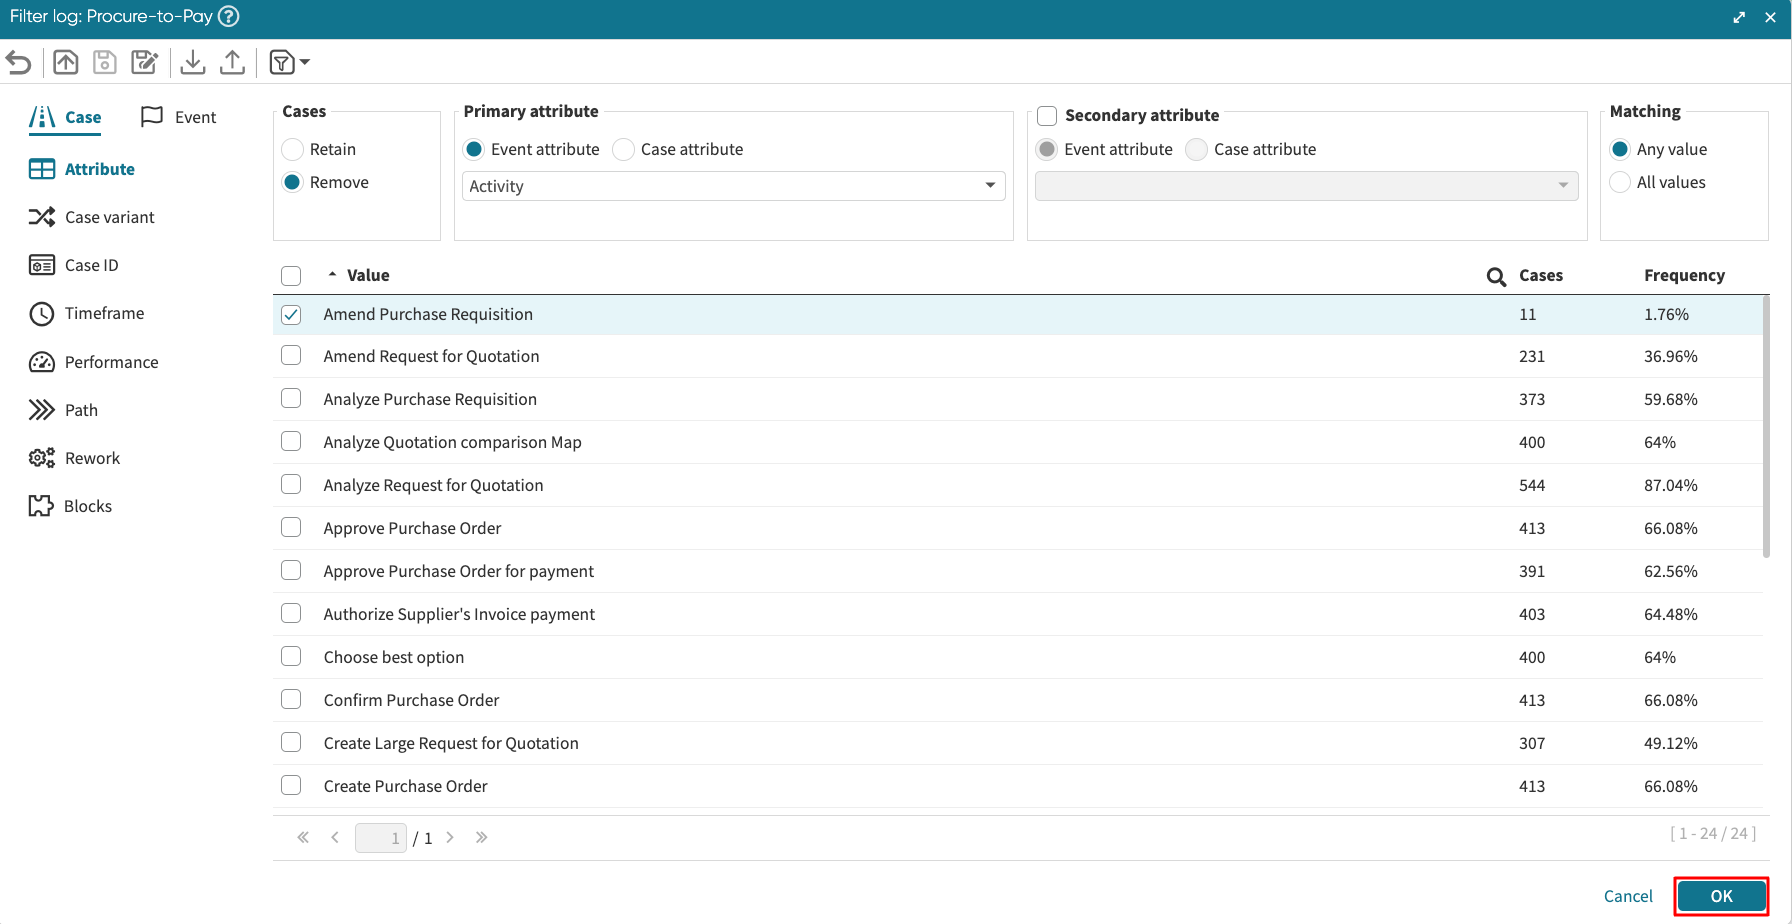
To create a new filter, specify the filter criteria and click OK.
Save as
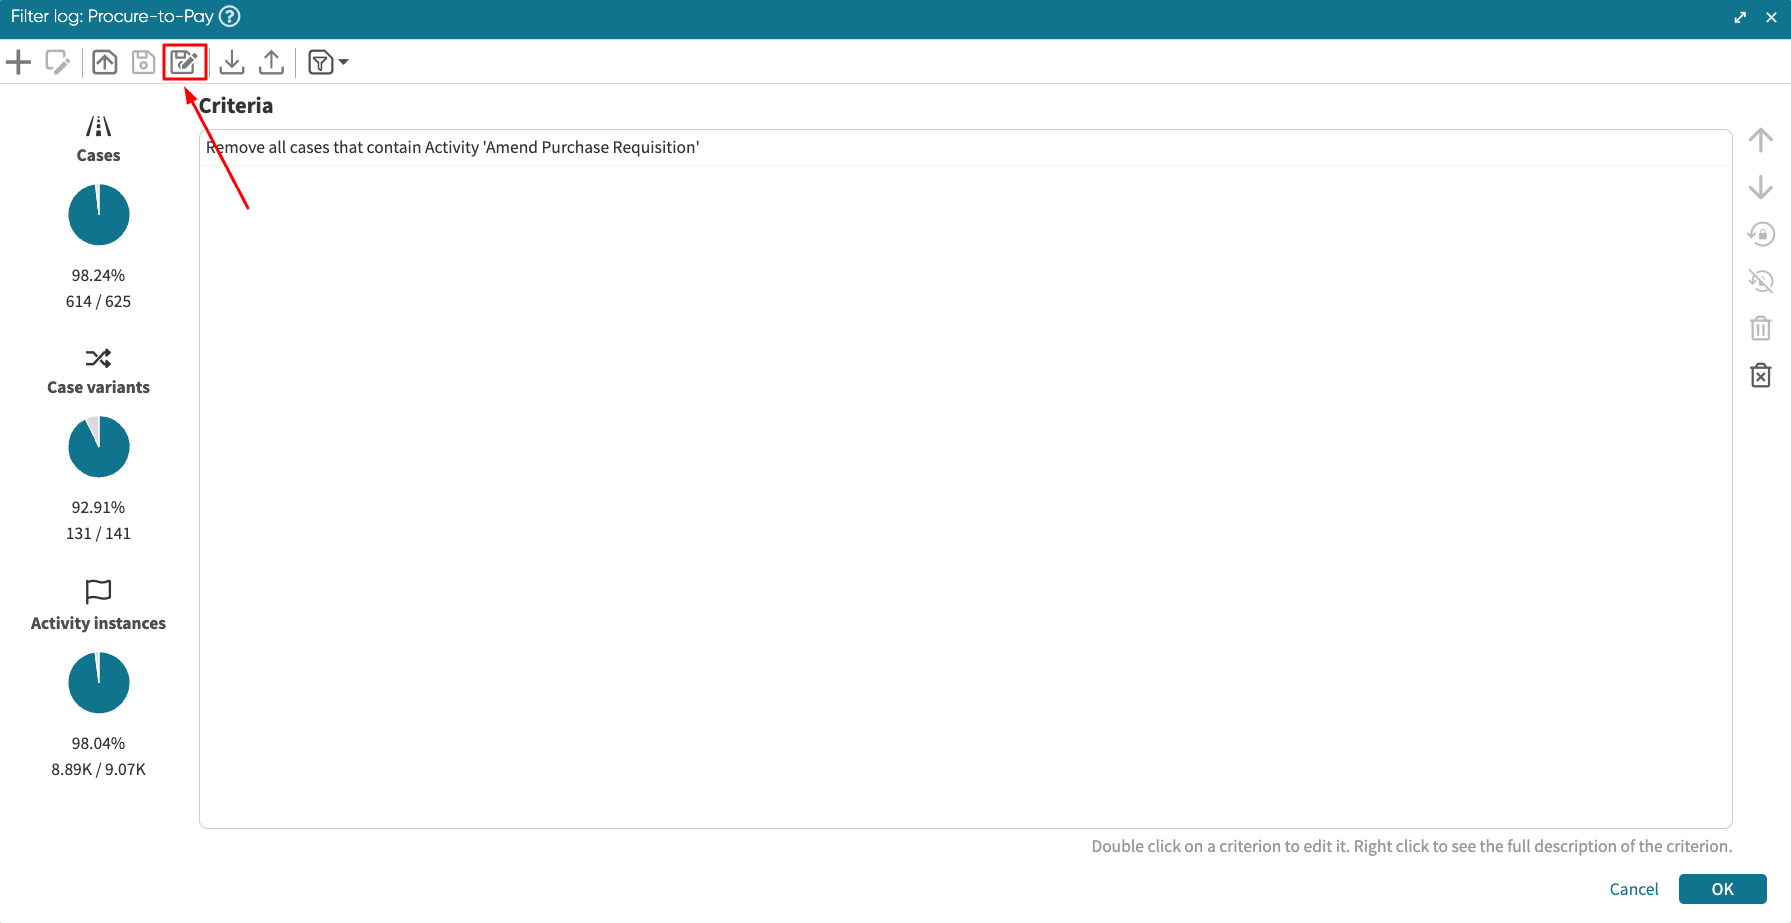
Once a filter is created, click Save as to save the new filter.
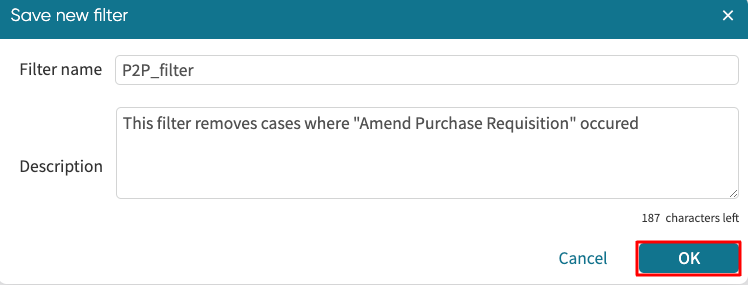
The Save filter criteria dialog will appear. Enter a name and description for the filter and click OK.
Once the filter is saved, we will see a confirmation message.
Load
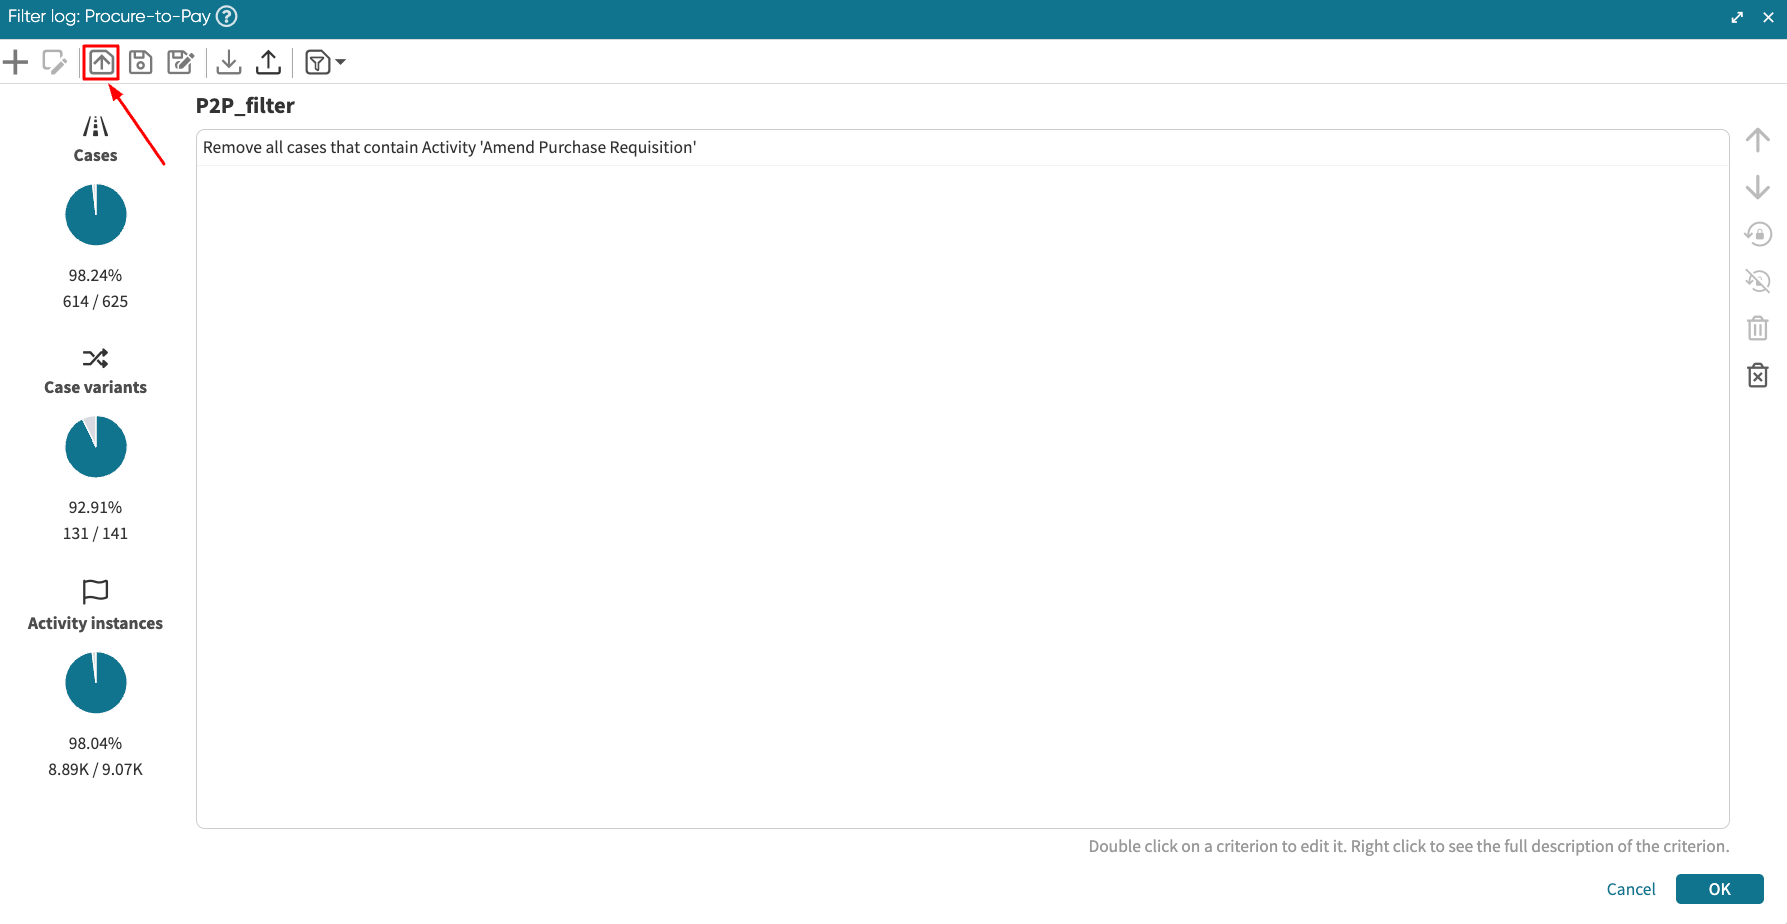
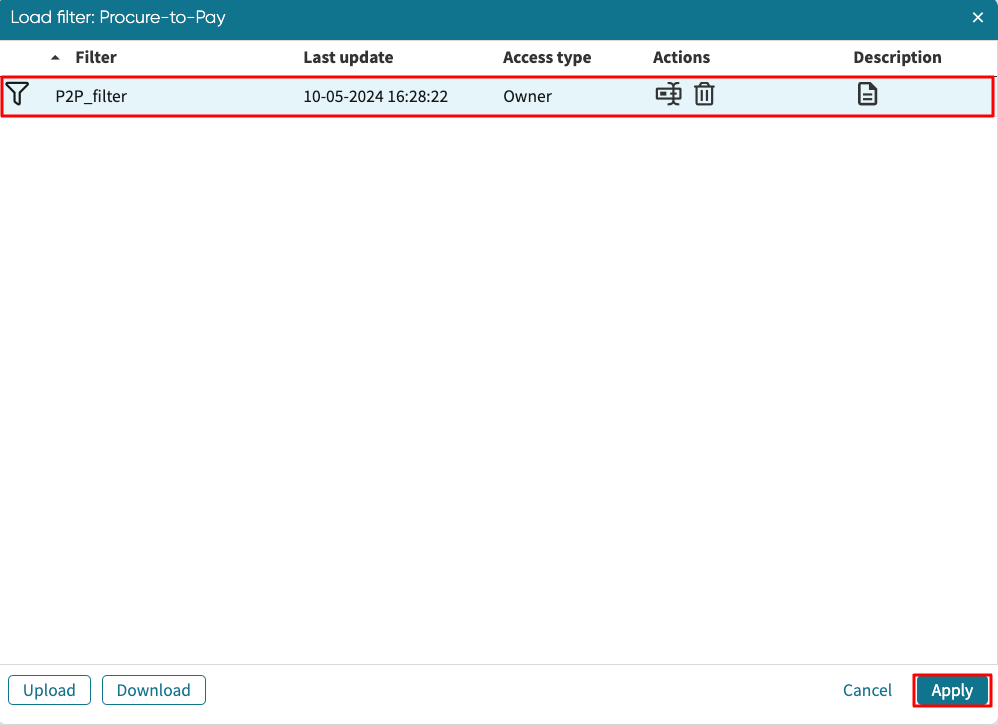
We can load an already saved filter associated with a log. To a load filter associated with a log, click the Open button.
We see a list of saved filters on the log.
We can also load filters from other logs. To do this, check “Show all my filters”. Now, Apromore displays all the filters linked to the opened log and other saved filters linked to other logs.
Select the specific filter we wish to load and click Apply.
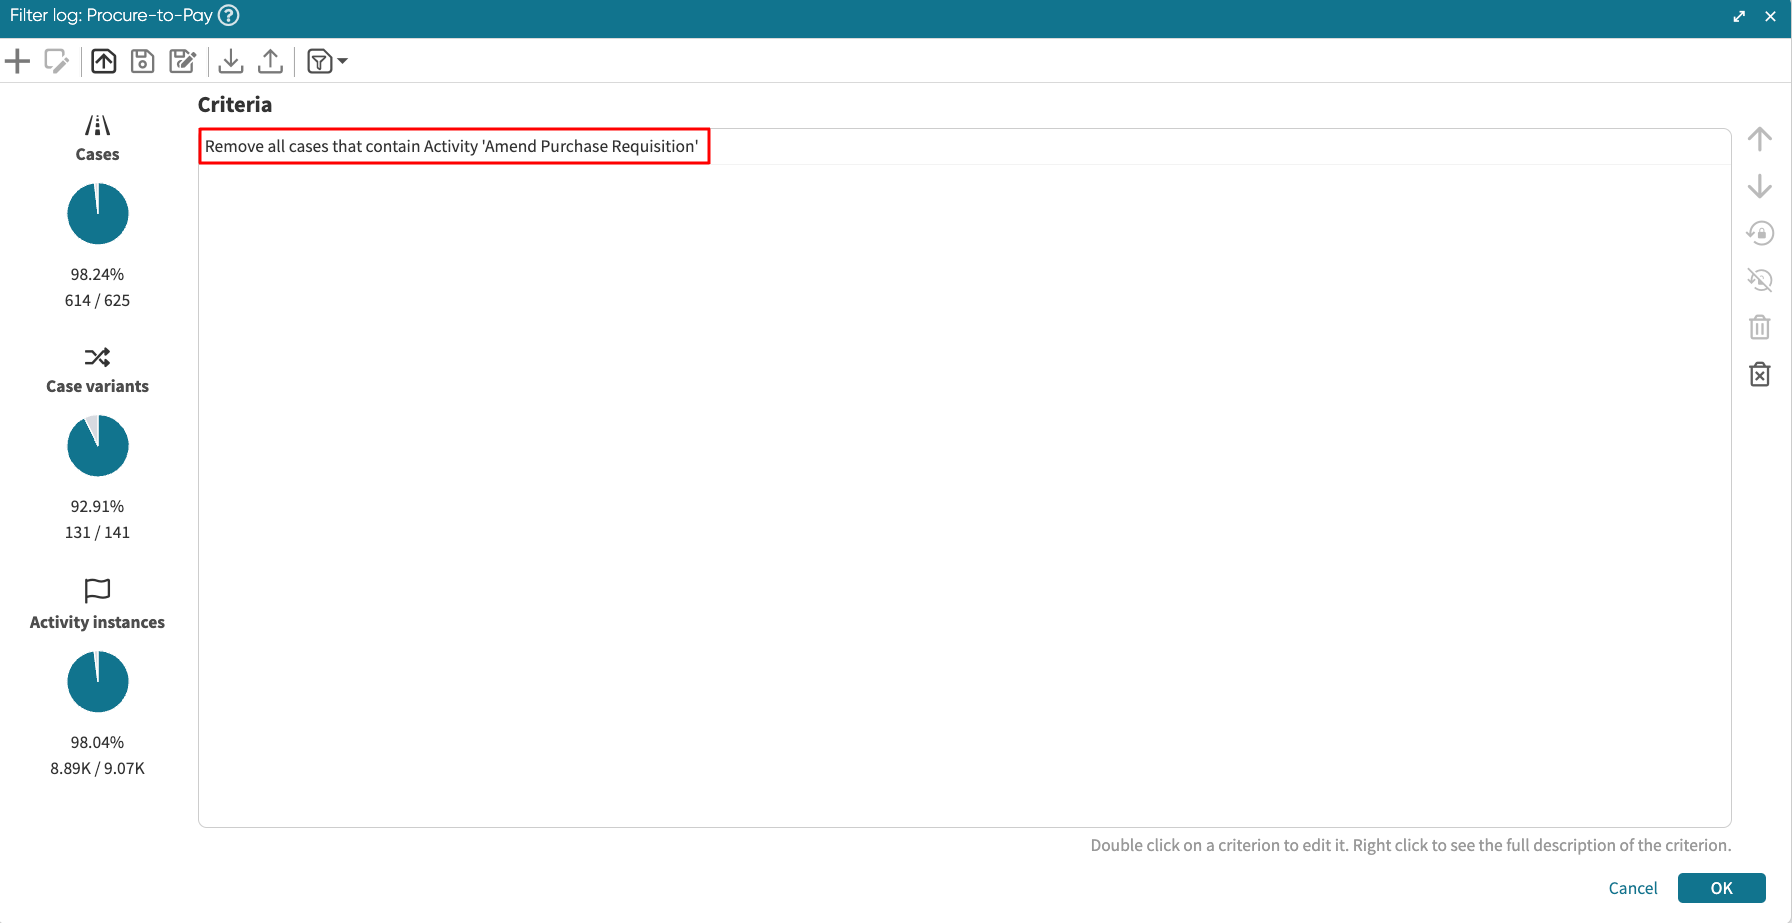
The filter will be loaded and will appear in the filter criteria window.
Save
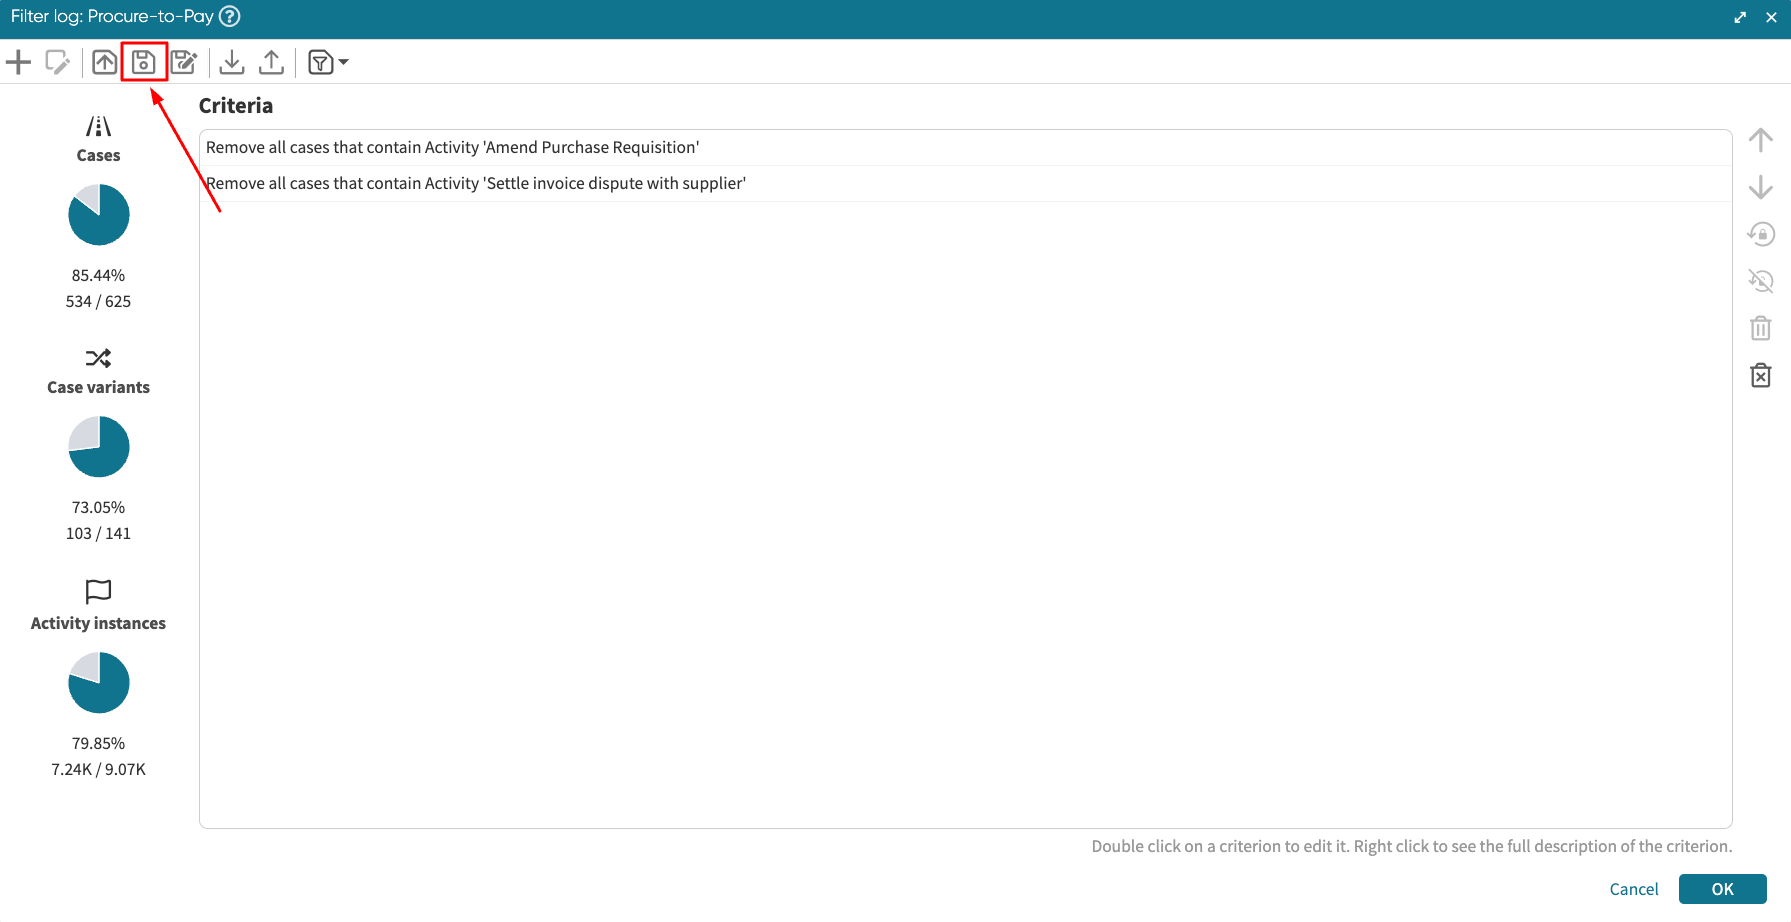
We can make changes to a saved filter and save the latest changes. This overwrites the existing filter to the latest. For example, we can fit the filter criteria to retain cases less than 2 weeks. Click OK.
To save the updated changes to the “Fast cases in P2P log”, click the Save icon.
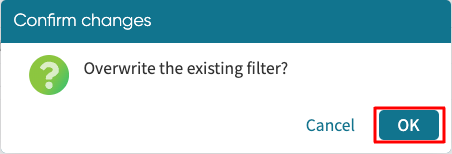
We get a message confirming we want to overwrite the existing filter. Click OK.
We get a pop-up informing us that the changes have been saved. The filter is now updated.
