Set up the task mining agent
Task mining is a technique that captures and analyzes user interactions with software applications to provide insights into business processes. It focuses on collecting data from user interfaces, such as application windows, focus elements, and interaction patterns, to map tasks and workflows.
To perform task mining in Apromore, we follow these steps:
Set up the task mining agent
Create a project
Complete a project
Load the task mining data in Apromore
Download the digital agent
In Apromore, the digital agent is the application software that collects and process data from a user’s PC. As such, the digital agent needs to be downloaded on a host machine for data to be collected and processed by Apromore. The installation of the digital agent is expected to be done by the organization’s IT Administrator.
Install the digital agent
First, we download the digital agent. With the appropriate task mining permissions, log in to your Apromore instance.
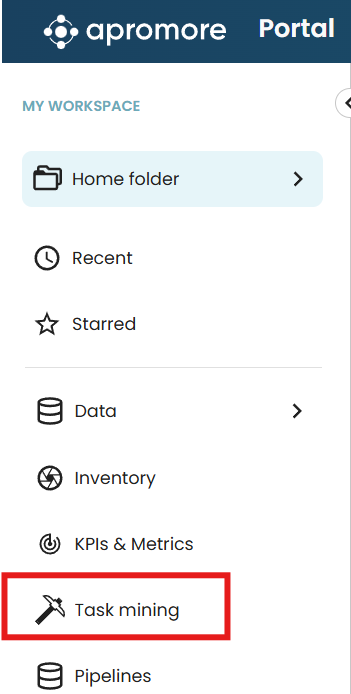
From Portal, go to Task Mining.
This opens the task mining page. Click Deployment Center.
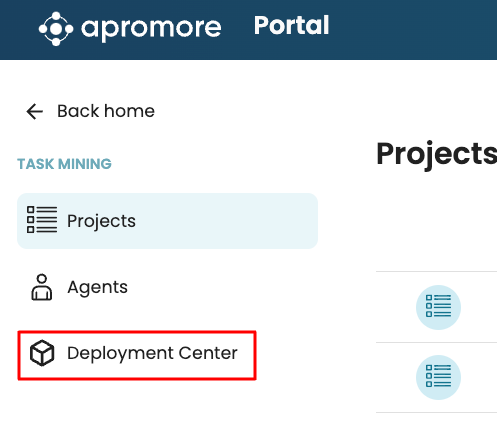
The deployment center allows the IT Administrator to download the digital agent and create enrolment files which are required when installing the digital agent.
To download the Apromore digital agent, click Download installer.

This downloads the digital agent installer file, an MSIX file.
Next, create a new enrollment file. This file contains information that would enable the digital agents to connect to Apromore’s task mining cockpit. It defines the instance where the digital agent will send its data, the number of agents that can be added, and the agent’s expiration date. After this date, the digital agent will stop collecting data. A new enrollment file can be created and reconnected to the digital agent if needed.
To create an enrollment file, click New enrollment file.

Specify the following details
Enrollment name: Name of the downloaded enrollment file in .PS1 format.
Expire on: Date that the digital agent would stop collecting data.
Seats: Number of workers’ PCs that can use the enrollment file.
Proxy address (Optional): If your organizational PC requires a proxy address for internal access, please enter the proxy address. If your organization does not require a proxy, this field can be left empty
Click Generate and download.

This downloads the license file in PS1 format.
Connection to the digital agent enrolment file can be done using two approaches:
Manual approach.
Script-based approach.
Manual approach
Open the downloaded PS1 file in a text editor.
Copy each of the environment variables.
Open the “Environment variables” window on your Windows PC. Click New to create a new System variable.
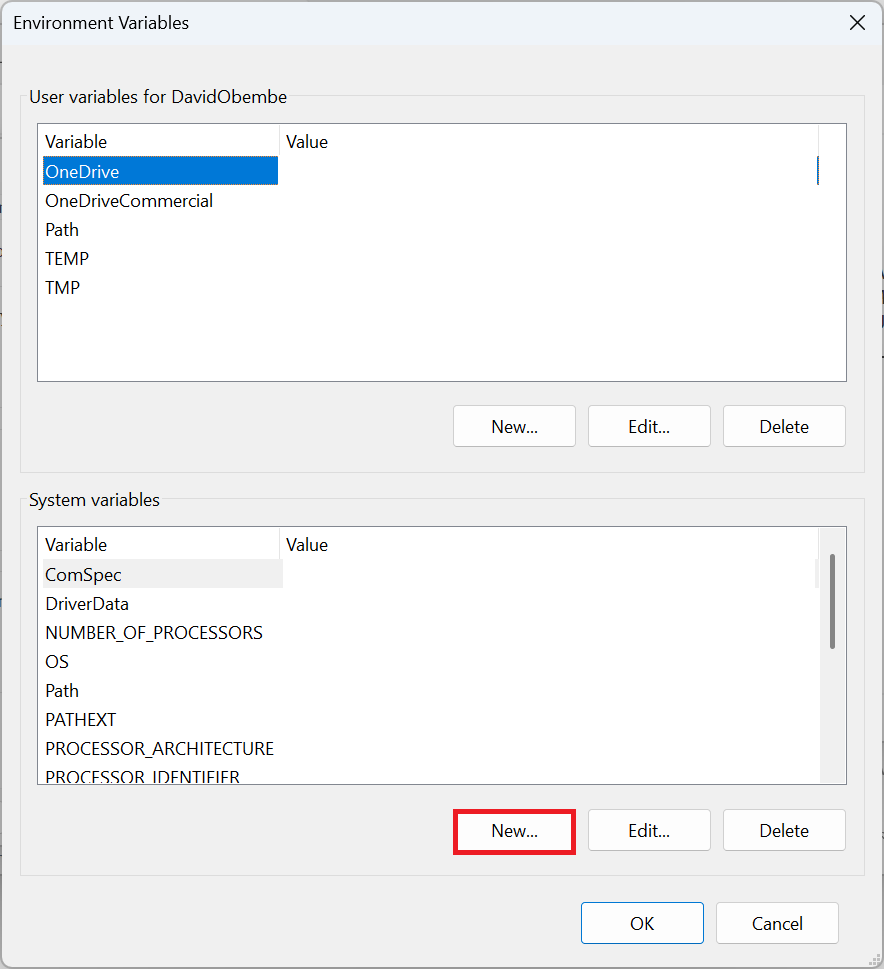
This opens a new window to create a new system variable.
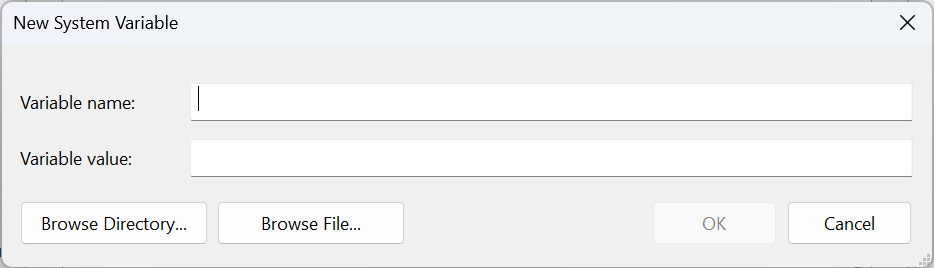
Copy each of the variables in the PS1 file and create a variable using the key-value pairs in the PS1 file. These are typically, the ApromoreDomainNameKey, ApromoreSignupTokenKey, and ApromoreProxyServerKey (if available) key-value pairs.
Install the digital agent MSIX file. Open the MSIX installation file. This opens the App Installer. Click Install.
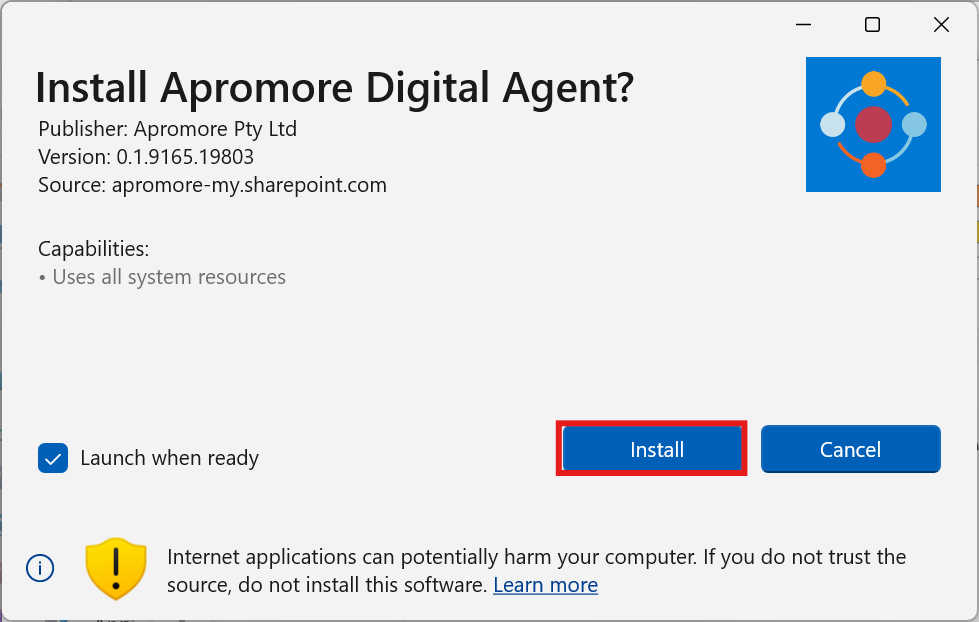
Once the installation is complete, open the Apromore Digital Agent application. The digital agent authenticates the user using the token in the environment variables and determines the Apromore instance to transmit the data to.
Script-based approach
Alternatively, with administrator access, we can directly run the PS1 file in PowerShell to set the system variables. Right-click the PS1 file and click Run with PowerShell. This saves the environment variables needed by the digital agent.
To complete the installation, open the MSIX installation file and click Install.
Once the installation is complete, open the Apromore Digital Agent application. The digital agent authenticates the user using the token in the environment variables and determines the Apromore instance to transmit the data to.
Note
The installation can also be deployed centrally using endpoint management systems such as SCCM, Intune, etc. Please adapt the local installation steps to your chosen endpoints management system.
Verify installation
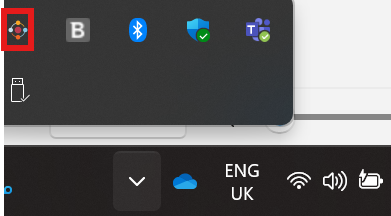
To verify the installation of the digital agent was successful, click the Overflow Indicator.

You should see the Apromore logo as one of the icons.
To also confirm the connection with Apromore, in the Apromore Task Mining environment, go to Agents.
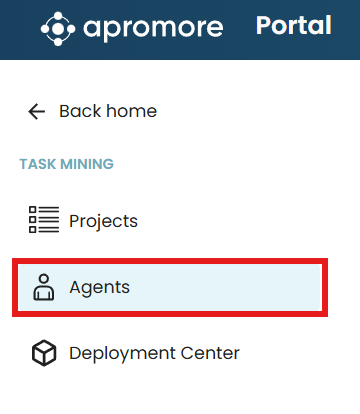
The PC details where the digital agent was installed should be displayed as a list of agents.
