Apply filters to lite dashboards
We can apply a filter to a dashboard on two levels:
Widget-level filters: Targets individual widgets for more precise control.
Data source-level filters: Applies a filter to all widgets that use the log as a data source
Apply widget-level filters
Widget-specific filters allow us to filter the data source of a single widget. When we filter the widget’s data source, Apromore displays the value of the filtered log. For instance, imagine we want to display the number of cases where there was rework in “Analyze Claim” and not all the cases in the process. We can filter the number of cases widget. Click the widget.
To filter the widget, go to Source.
Click + Filter to add a filter.

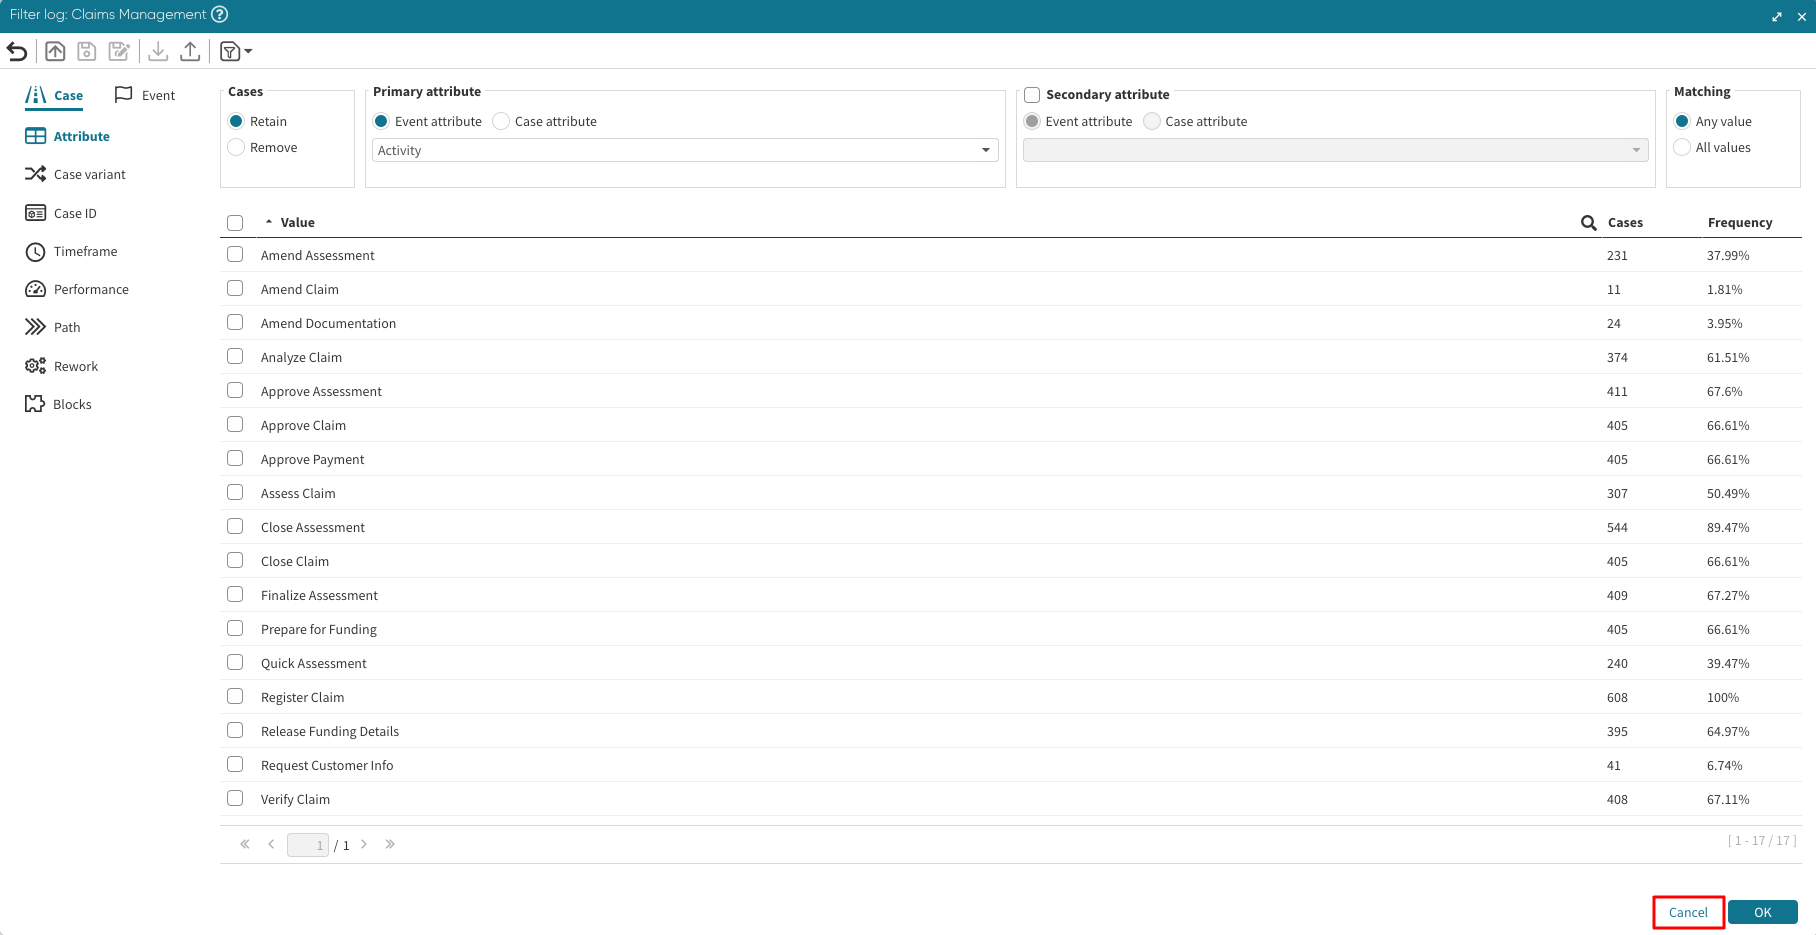
We can now create the filter of interest. In our case, we create a case filter that retains cases where there was a rework. Click OK.
As we see, in 8 cases, “Analyze Claims” was reworked.
We may change the title since a filter was applied.
To delete a filter, click the delete icon
Apply data source-level filters
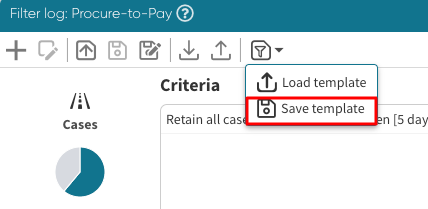
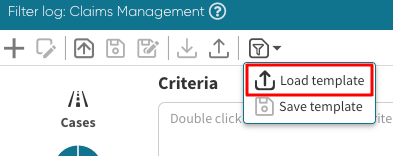
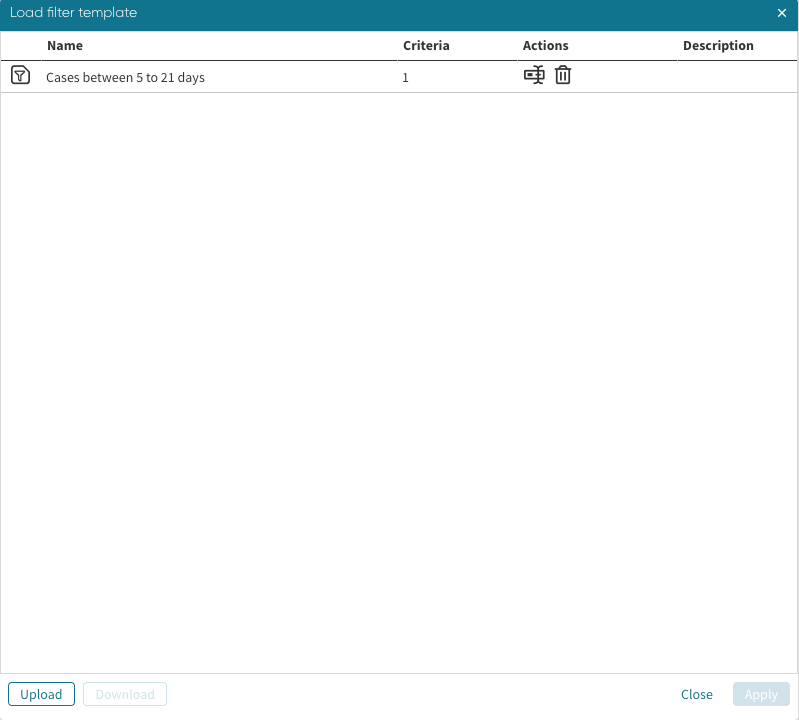
We can enhance a dashboard by applying filters at the data source level. This ensures that the filter affects every widget using the log. For instance, if we want the widgets that display claims management cases to show only cases that took more than two months, we would set up a data source-level filter. To create a data source-level filter, click the filter icon.
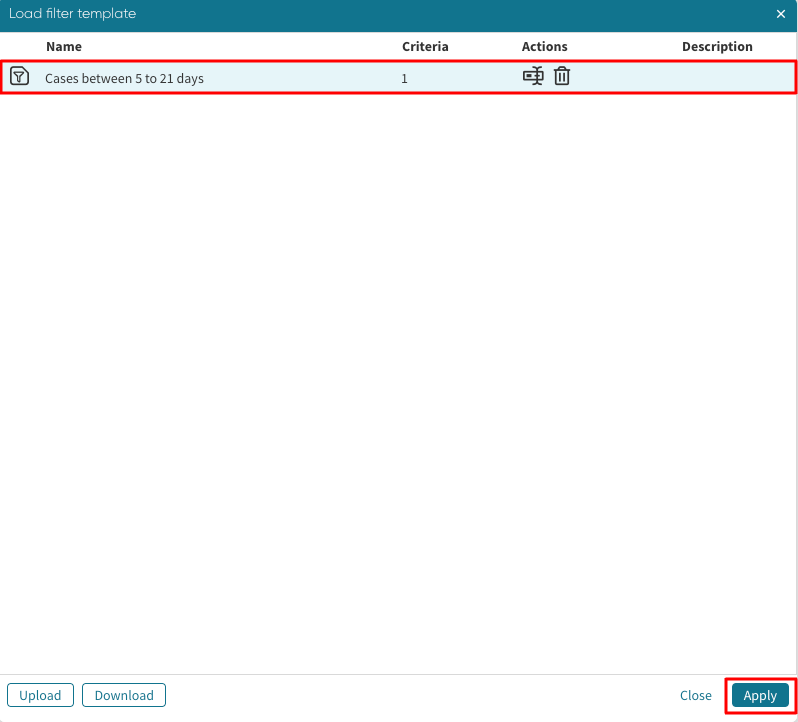
Click Filter and select the log where the filter will be applied.
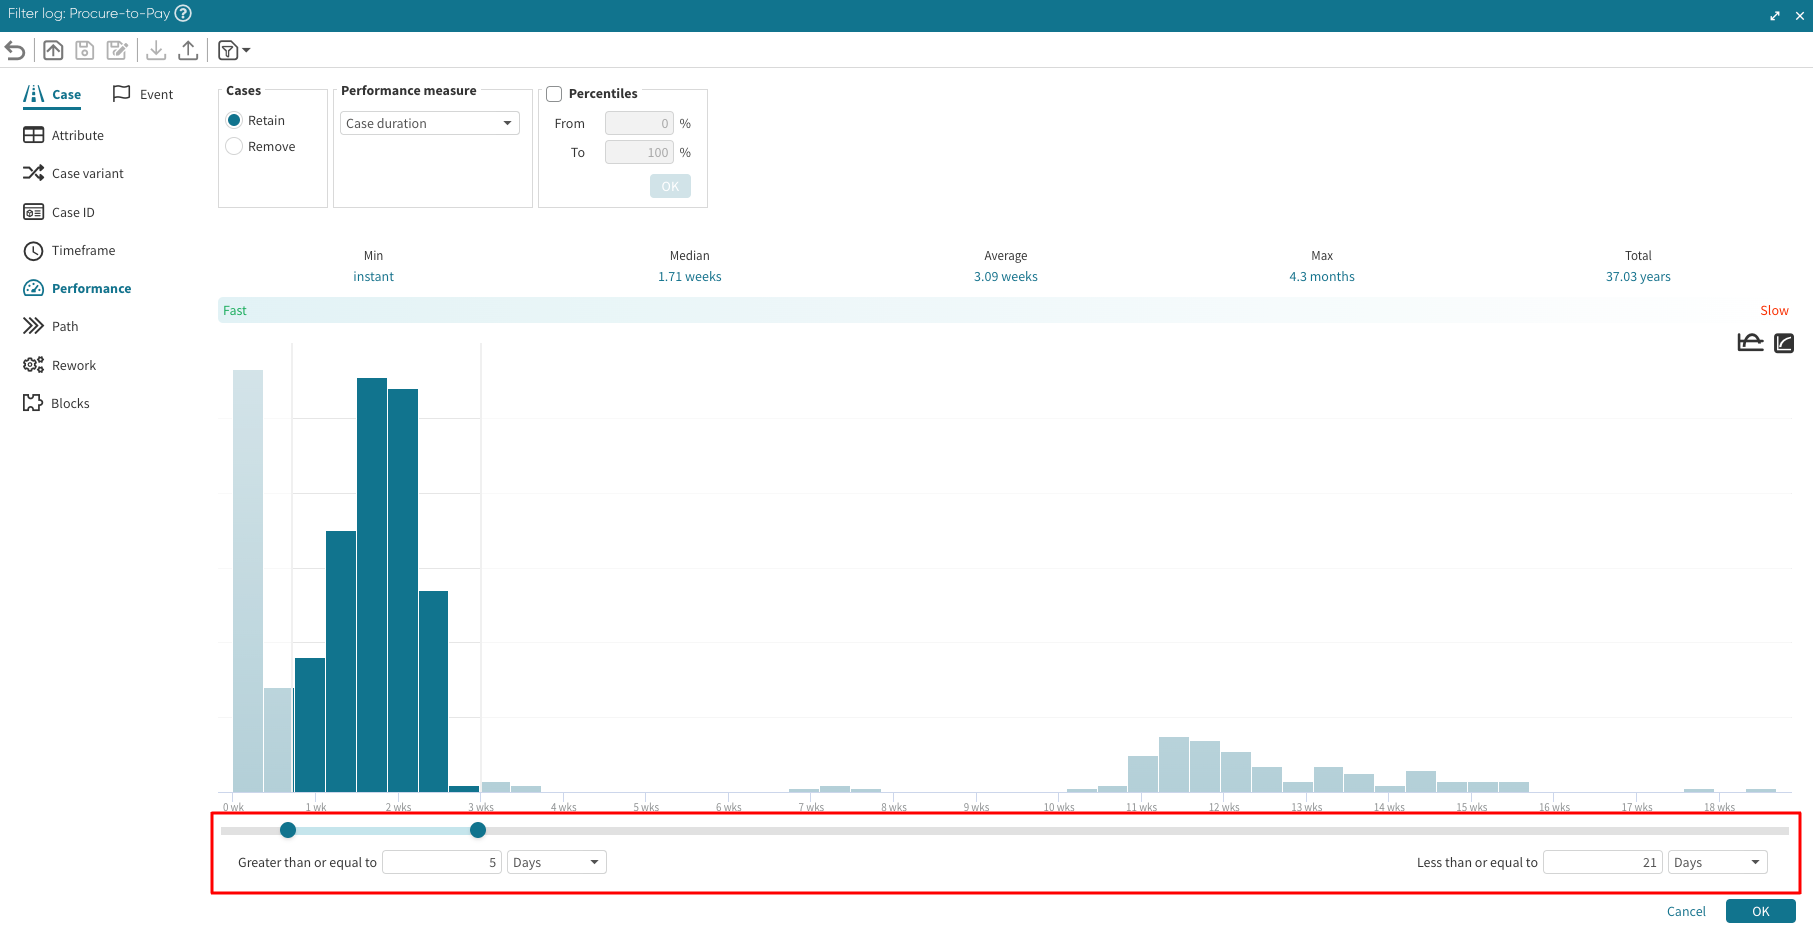
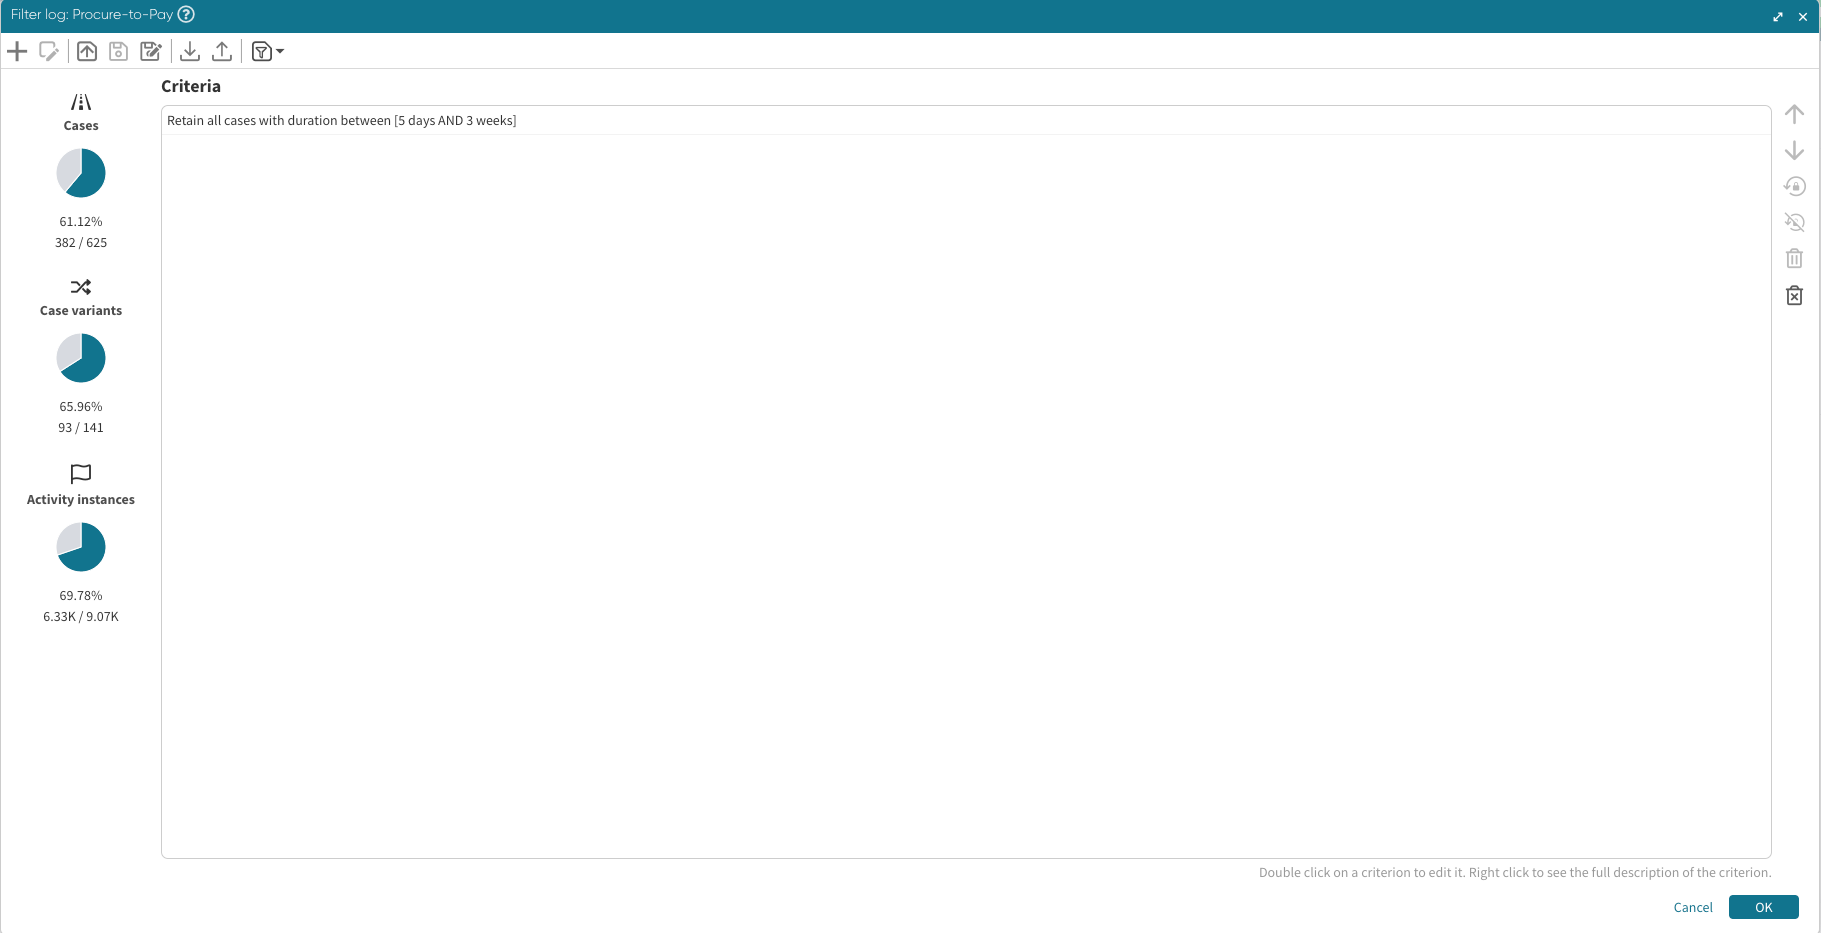
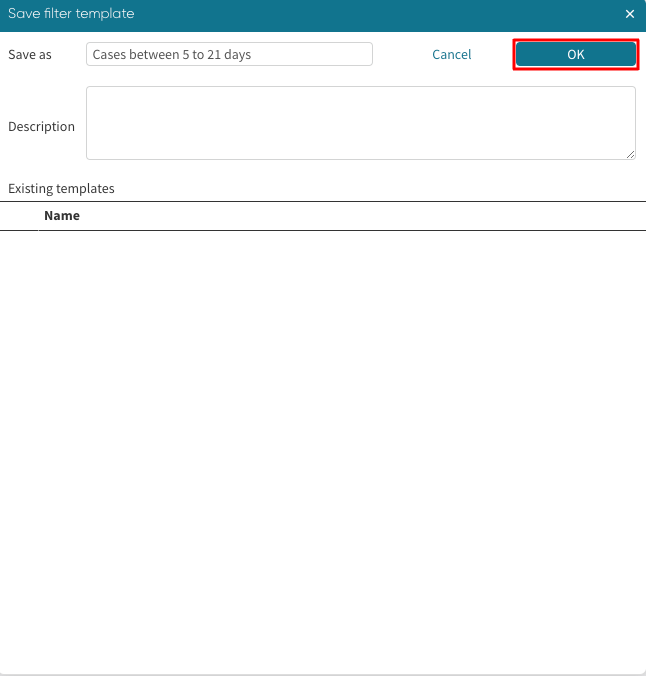
This opens the filter window. Create the filter and click OK to apply it.
Now, the widgets using the claims management log display the filtered log result. Those not requiring the claims management log, however, remain unchanged.

We can also clear the filter to restore the full log details. Click the filter icon > Clear.
Click the log to remove the filter.
And now, the widgets display the unfiltered claims management log.